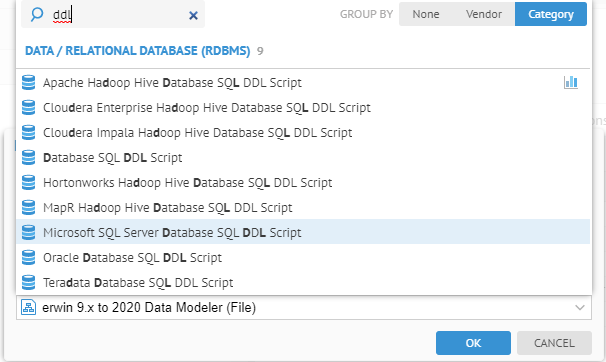
In this example, we will compare two multi-model data source models. In this case, the model will have a directory structure and the comparison will be performed at two levels (the directory structure and at individual leaves that are internal models).
We will use the data lake as the multi-model. However, there are no additional versions of the data lake in the models folder, so we will edit one of the files.
Create a new model. Complete the dialog as follows:

In the Import Setup tab specify in the File parameter the location:
C:\DataCataloging
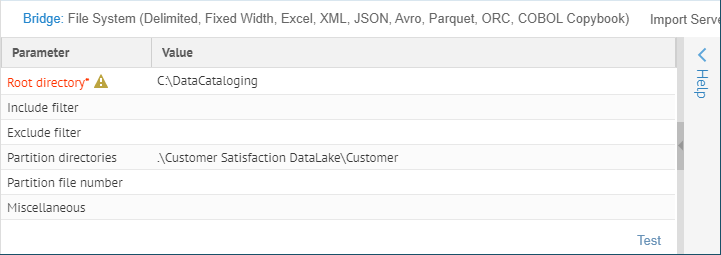
Click Save and then IMPORT.
When the import has completed, we will now make some changes for the comparison.
C:\DataCataloging\AdventureWorks Data Lake\HumanRessources
And rename Department.csv to be Dept.csv.
Edit Shift.csv and do the following:
o Change the data values for the first column (ShiftID) to “S1”, “S2” and “S3”
o Rename Name to ShiftName
o Add a column Hours at the end of all the lines in the file.
The result should be like this:

Now, again click IMPORT on the model to import a new version.
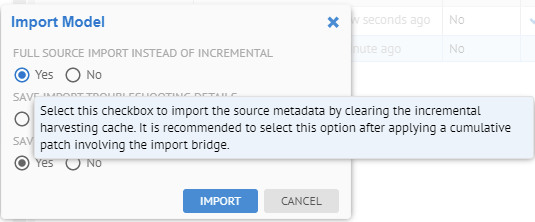
Be sure to check the Full source import instead of incremental checkbox in order to avoid incremental harvesting.
Go to the Versions tab.
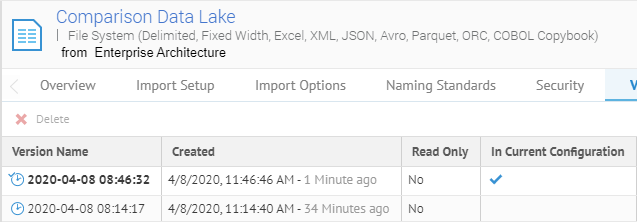
There are now two different versions of this model in the repository. The latest one is in the current configuration.
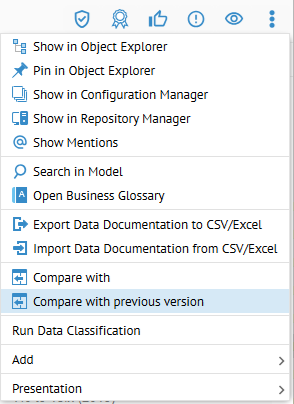
Click OPEN and select More actions… > Compare with previous version.
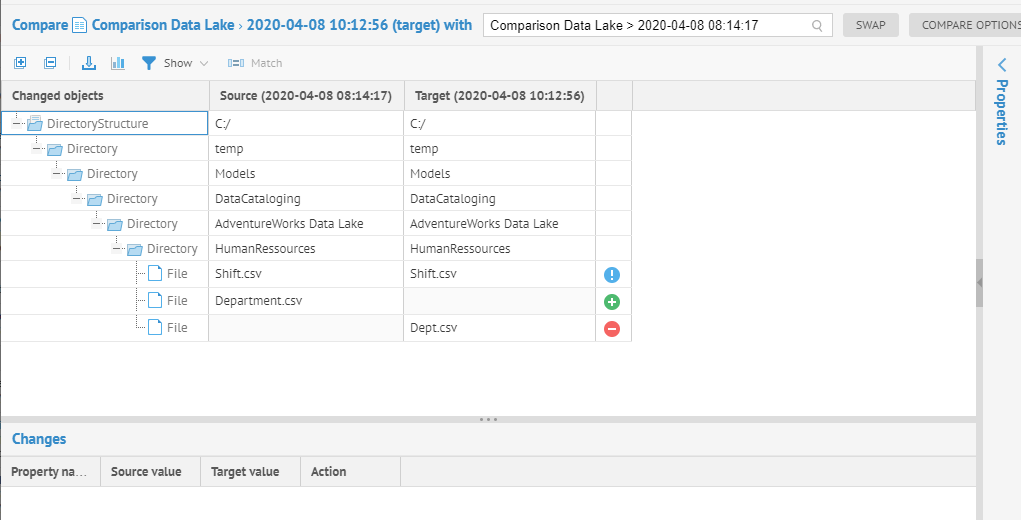
Click the row for the Shift.csv column with the difference icon .

The differences are in the model representing the Shift.csv file.
Click COMPARE MODELS.
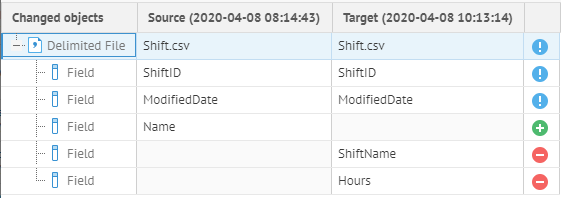
Click the row for ShiftID.

The data type changed, as we did in the file earlier.
We see also Name was added and ShiftName removed. The comparison direction is critical to the presentation and determines whether something is considered added or removed.
Click SWAP.
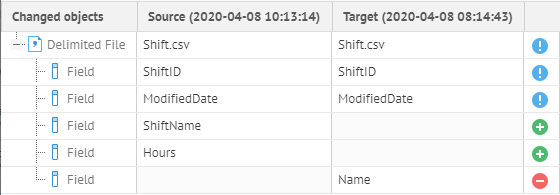
Now, we see the added and removed icons in a more appropriate order, where we added the Hours column as well as renaming Name to ShiftName.