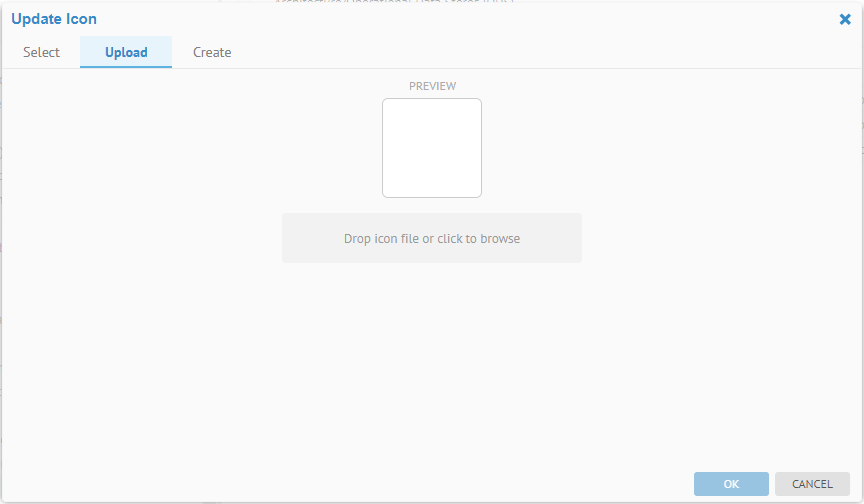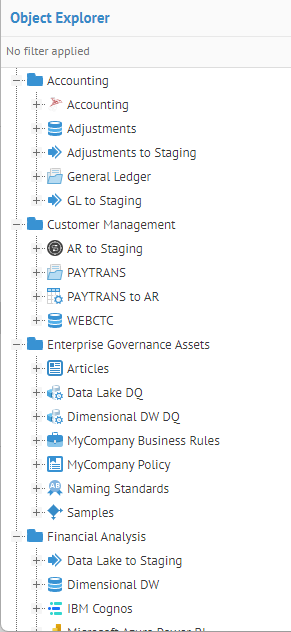
Models are presented in trees, worksheets, at the header of the object page, etc., with icons unique to the particular type of model. For imported models, it may vary by the type of import bridge used. For custom models it depends upon the type of model.

You may customize the icons within the repository.
Steps
1. Sign in as a user with at least the Metadata Editing capability object role assignment on the model you wish to change the icon for.
2. Navigate to the object page of the model you wish to change the icon for.
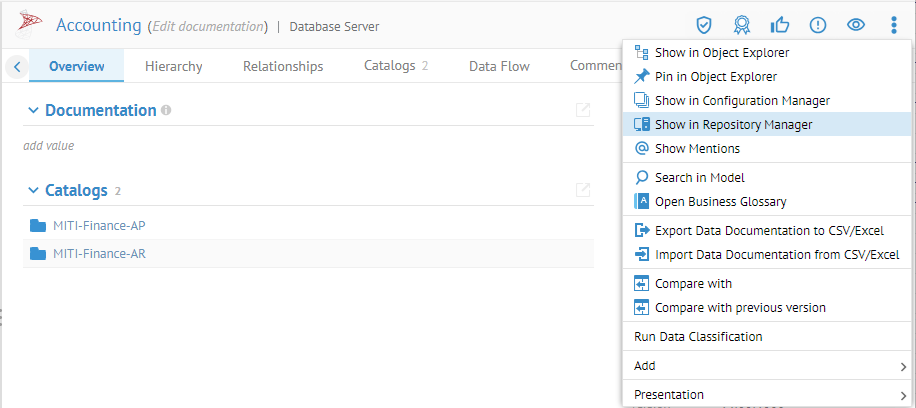
3. Click More Actions… > Open in Repository Manager.
4. Click the model containing the version you jumped to.
5. Click on the Icon.
6. Either
- Go to the Select tab and select a predefined icon and specify a colur
- Go to the Upload icon and browse for one
- Go to the Create tab and create an icon from scratch in the UI.
7. Click OK.
Example
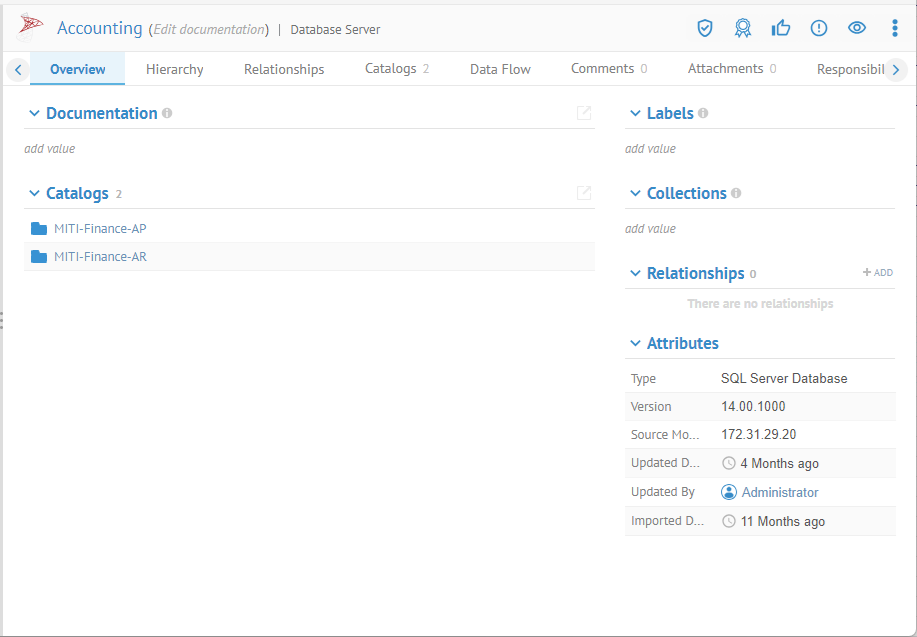
Sign in as Administrator and Navigate to the Accounts Payable object page.
Click More Actions… > Open in Repository Manager.
Select the model, not just the version.
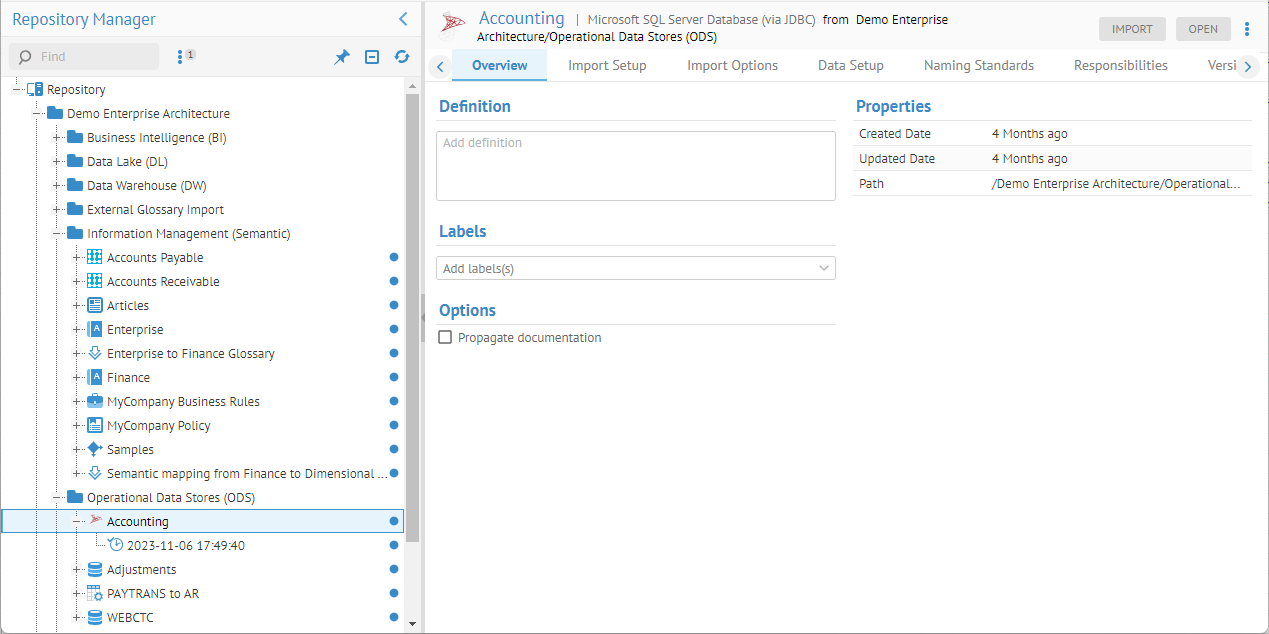
Click on the model icon.
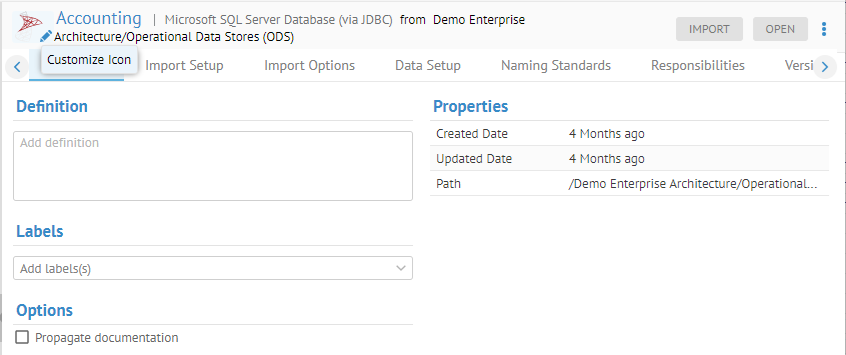
The Update Icon dialog is then shown.
