
We have seen how one may import or export one custom model at a time. In addition, you may import and/or export:
o set of selected models
o all models under a folder and its subfolders.
In a single import or export action.
The bulk import and export is a context menu option on a folder in the repository manager. The export process produces an XLSX file per a single-model. When bulk exporting multiple models, it ZIPs their XLSX or CSV files organized by their folder hierarchy using file directories. The import process takes a ZIP file and assumes the same organizational structure as the export process.
You may still import and export single models using the XLSX or CSV format (again, zipped up).
Steps
1. Sign in as a user with at least the Metadata Import / Export capability object role assignment for the custom model you wish to import from CSV format.
2. Go to MANAGE > Repository.
3. Right click on the Folder you wish to import the models under.
4. Select Import from CSV/Excel.
5. Navigate to the object page of Browse the folder structure on the application server for the .ZIP file containing the XLSX or CSV files with the contents of the multiple custom models
Example
In this example we will bulk load a hierarchy of subject area specific glossaries from a fictitious third party tool. This could be a data catalog, data governance environment, data lake with data documentation or governance information, etc.
The process is notionally like this:

Matching the Input Format
The most critical part of the process is to match up the Metamodel extensions in MIMM
In this case, we have a source export format like this:

As we can see:
o The Subject areas are hierarchical. Since each subject area glossary has its own workflow and publication process, we will want to create a glossary model for each. This means a file for each and using the folder hierarchy to represent the subject area hierarchy. Thus, we will be splitting the file up into several files in different folders.
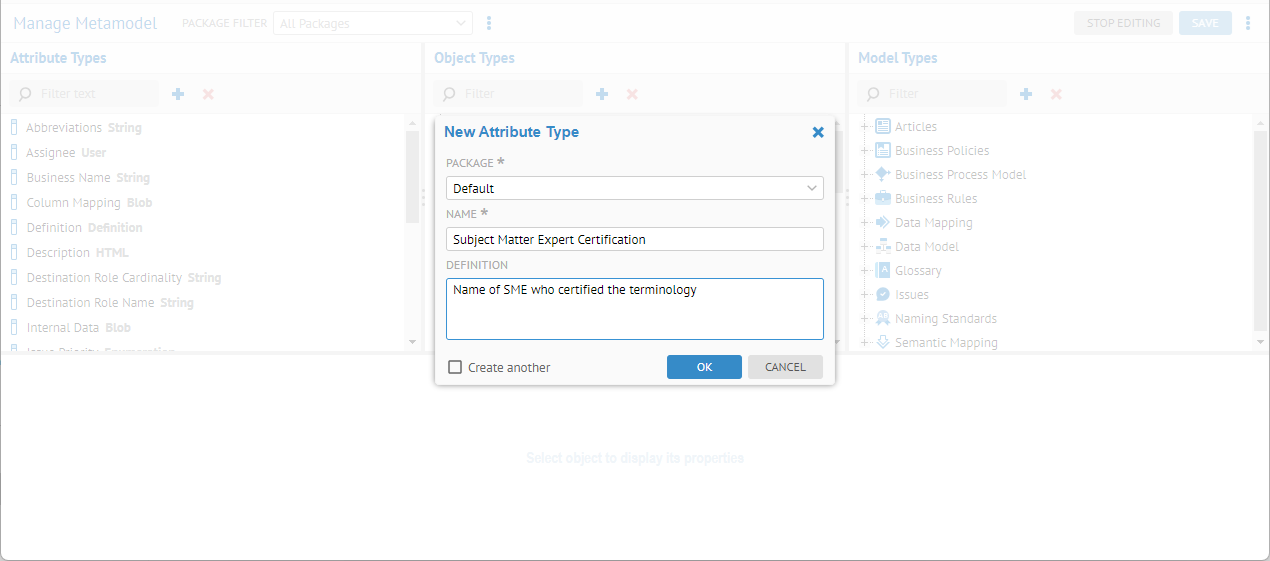
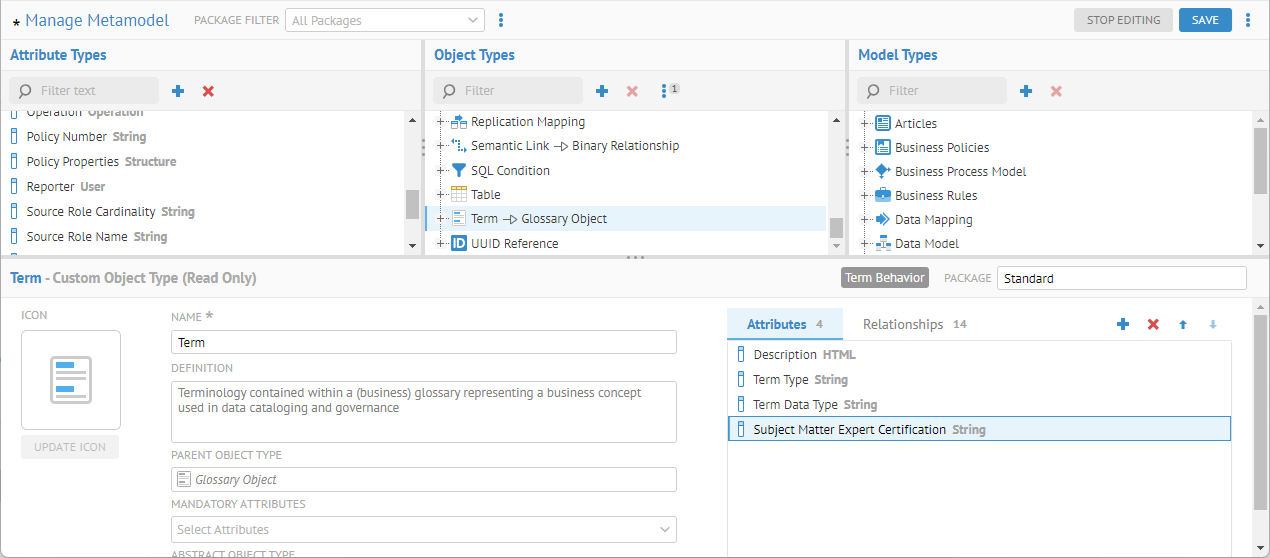
o The first four fields should map into the standard Glossary Term quite well. However, the Subject Matter Expert Certification will need to be defined in the metamodel and Term should be extended to include it. Alternatively, one could create a new object type (say External Term) that inherits from Glossary > Term and also includes the new attribute. We will do the former.
You could use an Excel Macro to perform these actions or automate with code. Either will work well.
Extending the Metamodeto Include Attributes and Objects
Here we extend the metamodel to include the new attribute:
Exporting to Determine the Import Format Required
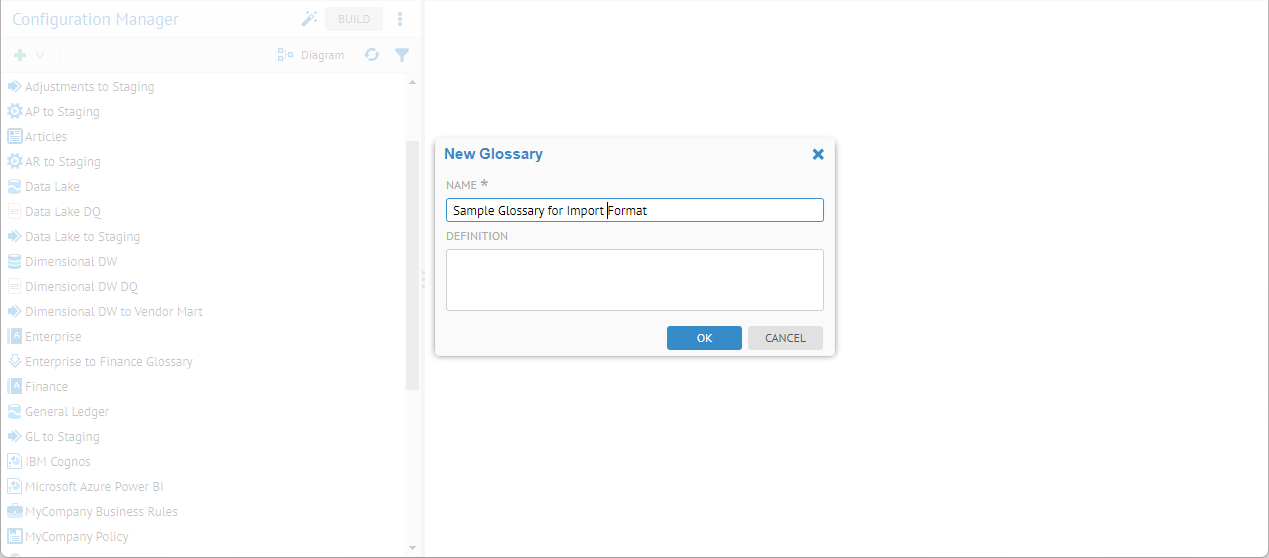
We then create a new custom model as an instantiation of the metamodel model type.
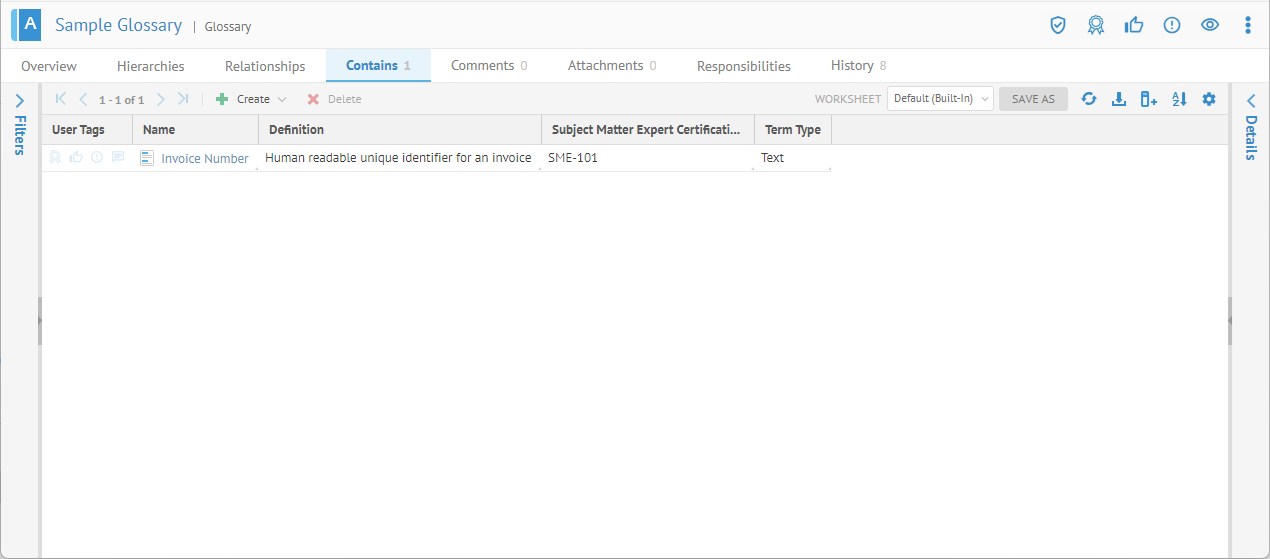
Then we can export to XLSX format and that will be the target format.

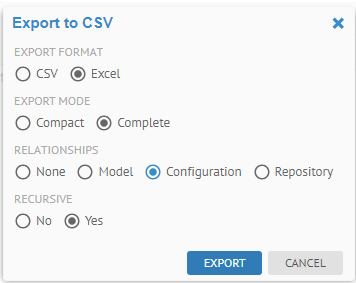
And we have the result:
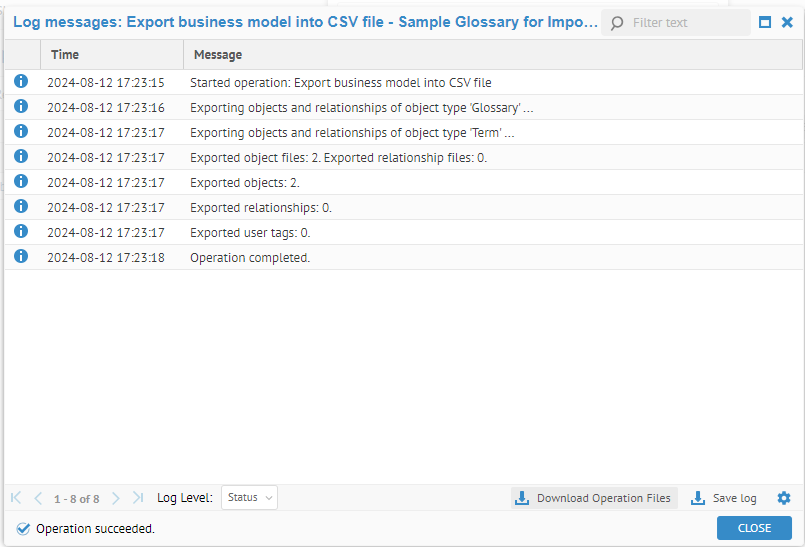


So, now we name everything properly (according to the exported CSV file we originally looked at, and organize them according to the hierarchical folder structure for the names of folders and models.

With Finance containing CRM.xlsx and Sales containing AR.xlsx.
Zip up the folder structure and you are ready to go.
Importing the Metadata Into a Set of New Custom Models
Now, we go to MANAGE > Repository and create the folder which will contain the hierarchy of glossaries that we import.
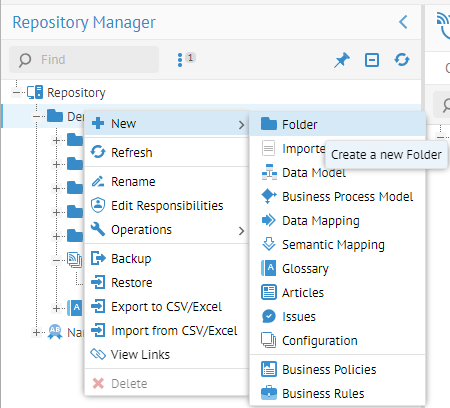
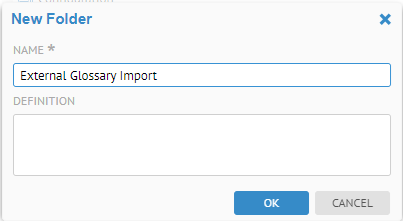
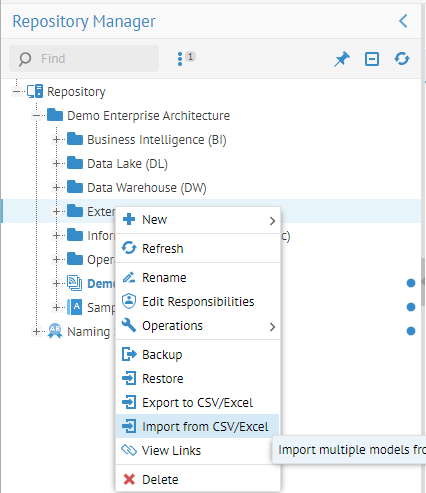
Then, right-click on the new folder and select Import from CSV/Excel.
Navigate to the zipped up file and click IMPORT.
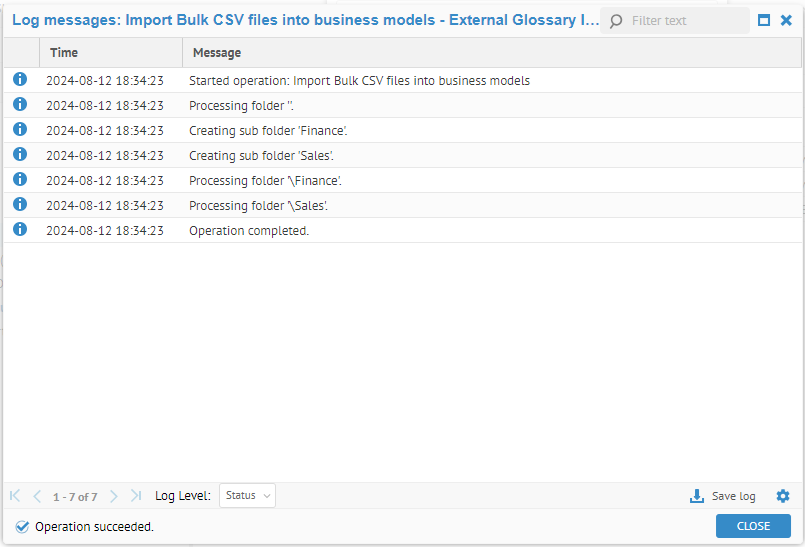
And we have our glossaries.