You may create a glossary using the configuration manager, as shown below or the repository manager.
Creating a glossary is just of an example of the process of creating a custom model. In this case it is based upon the Glossary model type. As it is a custom model, you may customize it.
Steps
1. Sign in as a user with at least the Metadata Management capability object role assignment on the Configuration you are in.
2. Go to MANAGE > Configuration in the banner.
3. Click the New Model plus sign under Manage Configuration.
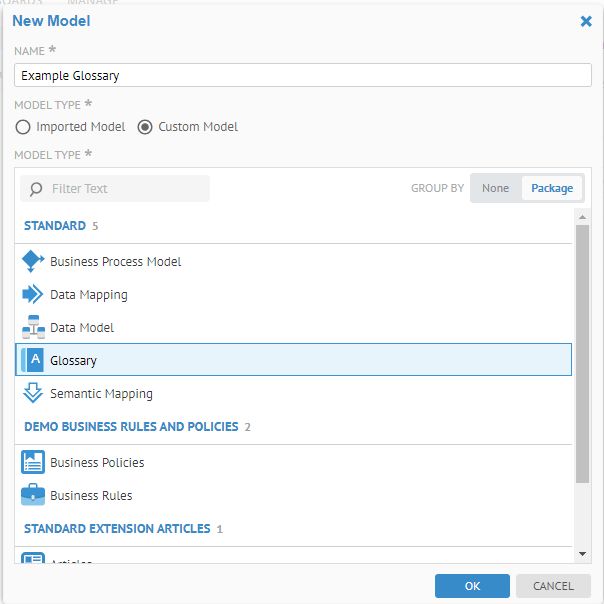
4. Specify Custom Model and select Glossary.
5. Enter a Name and Description for the glossary and click OK.
Example
Sign in as Administrator. Go to the MANAGE > Configuration and click the plus sign (New Model) under Manage Configuration.

Enter “Example Glossary” for the Name, pick the Customer Model radio button and select the Glossary and click OK.
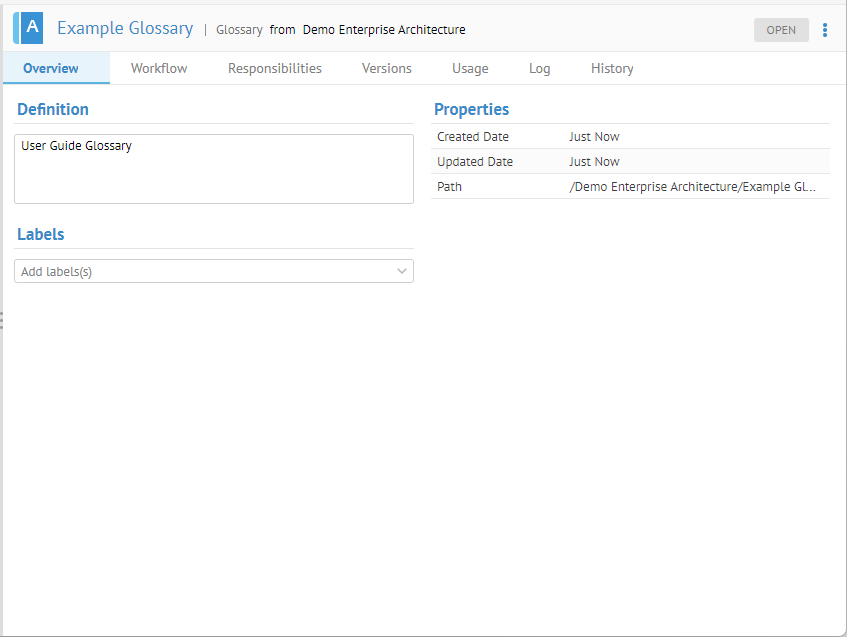
Then, enter “User Guide Glossary” for the Definition for the glossary and click SAVE.

This is the Configuration Manager view of the glossary. As with other objects in a configuration, you may specify Responsibilities, view Versions, review Logs, stitch Connections and review audit log History.
Unique to custom models, like a glossary, you also see the Workflow tab where you may turn on workflow and specify workflow options.
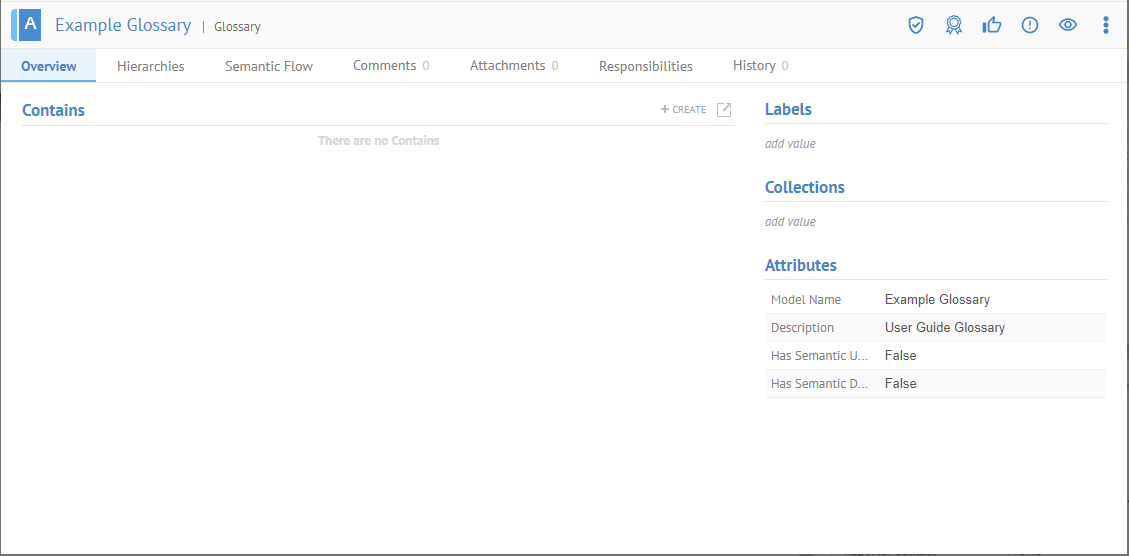
Click OPEN and you will see the object page for the glossary:
