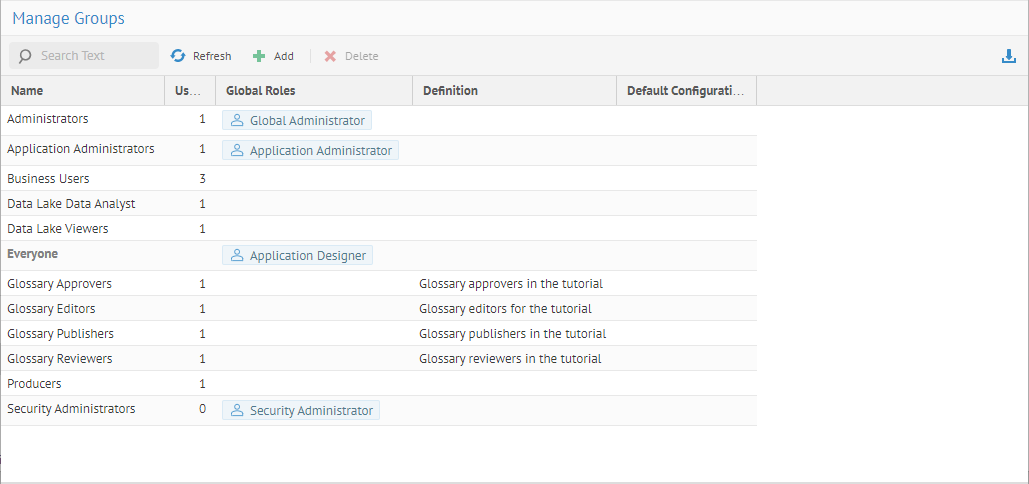
Management of user responsibilities becomes more manageable when using groups to organize users and assign responsibilities.
Steps
1. Sign in as a user with at least the Security Administrator capability global role assignment.
2. Go to MANAGE > Groups in the banner
3. Click Add.
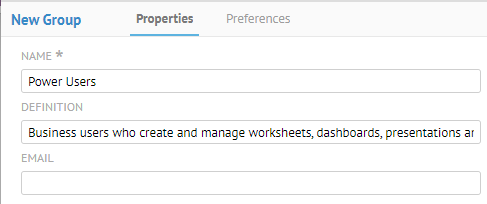
4. Provide NAME, DEFINITION, EMAIL.
Both users and groups can have email addresses that are used for notification. Individual users (but not groups) can control their notification frequency. If you leave the group email address empty, then the notification for that group (based upon its roles) will instead be sent to the email addresses of its member users. When a group’s email address is set, notifications are sent to the system email frequency and the individual email addresses of the member users will not receive notifications.
5. Include USERS from the pick list.
6. Assign GLOBAL ROLES from the pick list.
7. Select a published configuration from the DEFAULT CONFIGURATION search box.
The DEFAULT CONFIGURATION will be the configuration assigned automatically when a user who is a member of this group signs in. If a user is a member of several groups so that more than one configuration is default, then that user will be presented with a choice among those default configurations. If the group is the reserved group EVERYONE then all users will be given a default configuration.
Example
Sign in as an Administrator.
Go to MANAGE > Groups

Click Add.
Provide NAME, DEFINITION, and EMAIL as shown below:
o Power Users
o Business users who create and manage worksheets, dashboards, presentations and collections
o <empty>

Assign this group these three GLOBAL ROLES:
o Worksheet Author
o Collections Custodian
o Applications Designer

Select the Demo Enterprise Architecture configuration from the DEFAULT COFIGURATION search box.

Click CREATE.

Explore Further