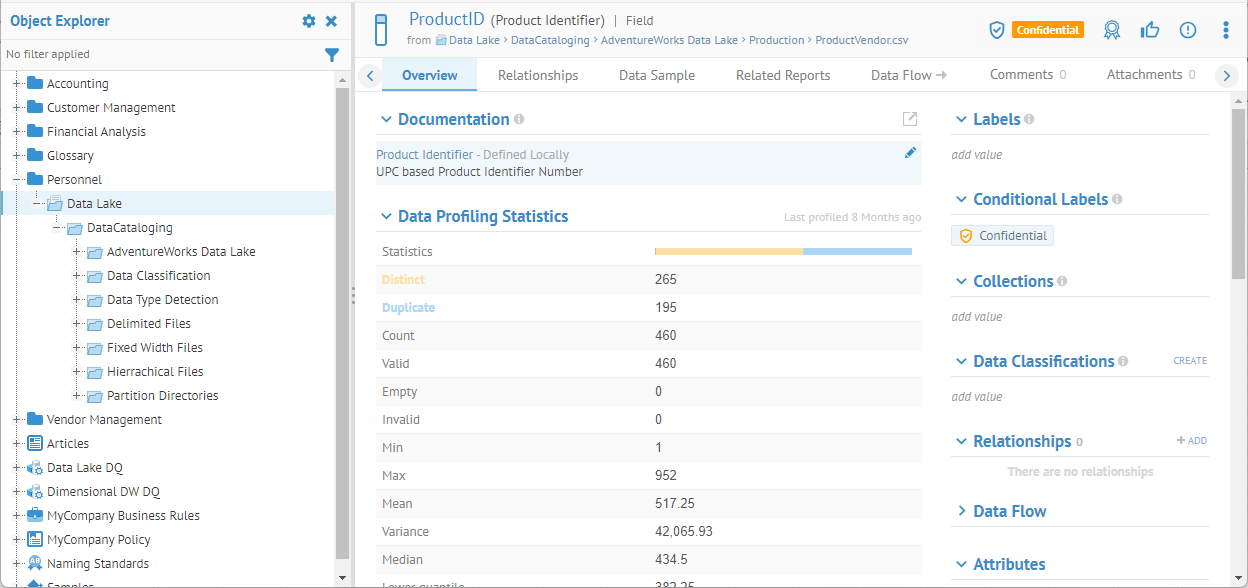
In this scenario you will enter an explicit local Name and Business Definition, overriding the reused Name and Business Definition from a term in a glossary.
Steps
From the object page
1. Navigate to the object page for the imported object you wish to document. Then click the Overview tab.
2. Click on the pencil (Edit) icon in the Documentation section.
3. Enter the:
4. BUSINESS NAME of the term
The BUSINESS NAME will be pre-populated with any human readable name based upon the physical name.
5. BUSINESS DEFINITION for the term
The BUSINESS DEFINITION will be pre-populated with any inferred description information.
6. Click OK.
The Business Name (next to the physical name) and BUSINESS DEFINITION in the Term Documentation section now are locally defined.
Example
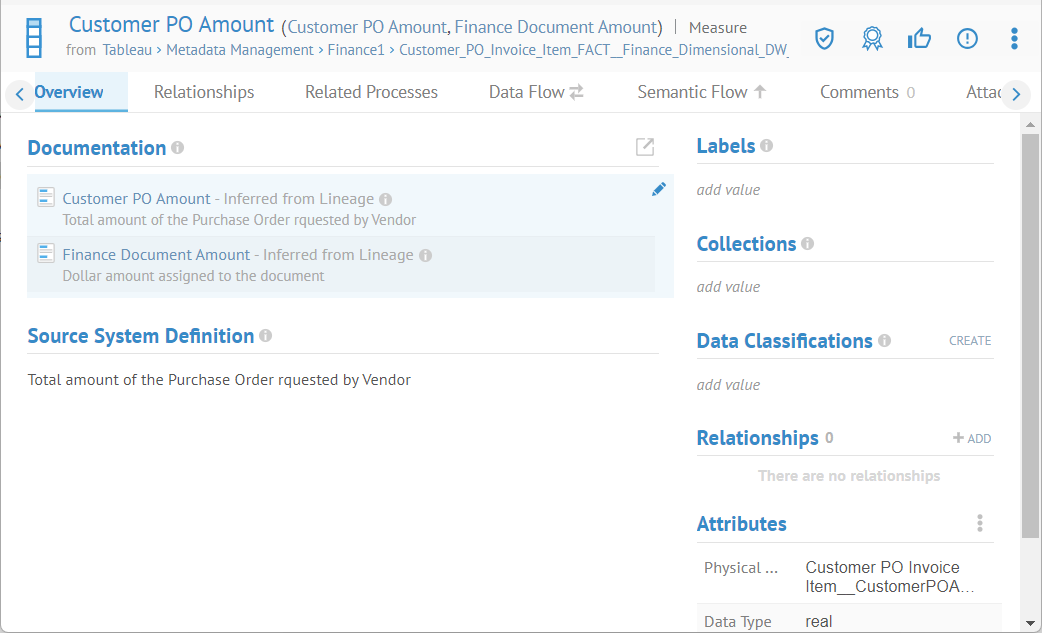
Navigate to the object page for the column Customer PO Amount in the Tableau report at Tableau > Metadata Management > Finance1 > Customer_PO_Invoice_Item_FACT__Finance_Dimensional_DW_ > Customer PO Invoice Item.

Move the pointer over the right hand side in the Documentation section and then click the pencil (Edit) icon which appears.
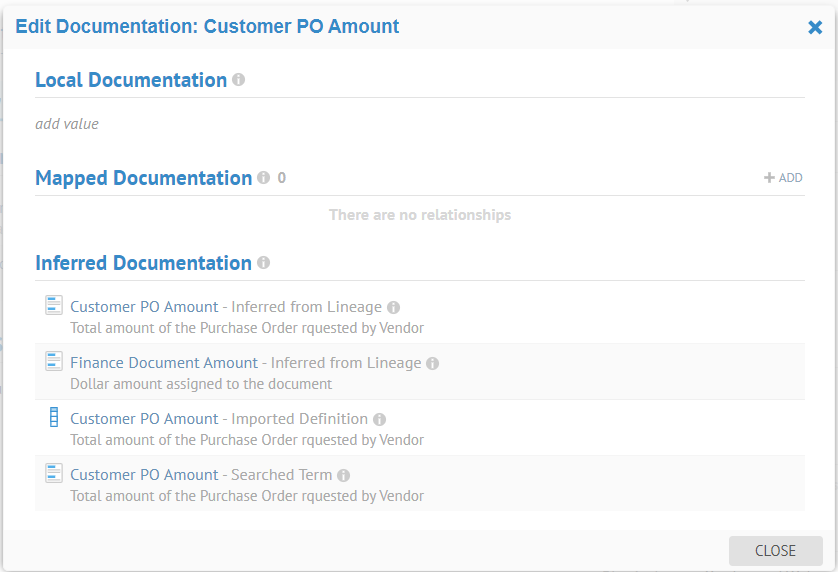
Click on the pencil (Edit) icon in the Local Documentation section.
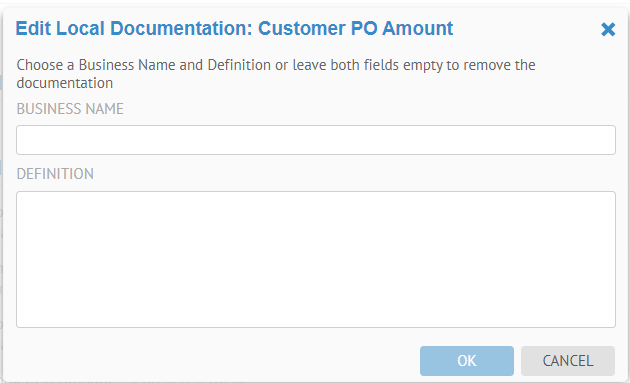
Click in the BUSINESS NAME field.
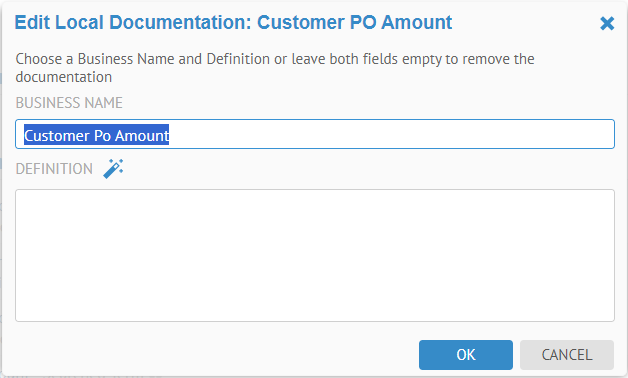
It suggests a good BUSINESS NAME.
It also proposes to take advantage of data standardization and create a term which may be reused for documentation throughout. This is the preferred approach, and locally documenting is not considered best practice. We show it here for completeness.
Click the Propose Definition (magic wand) icon.
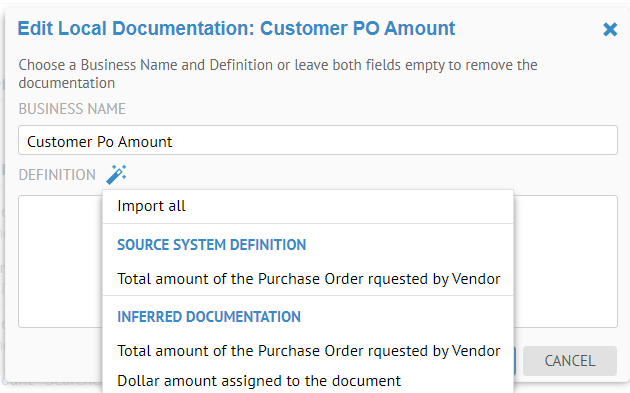
The different descriptions are listed based upon the other documentation (term, semantic mapping, inferred).
Select Import all to include all these definitions and you may edit accordingly.
Pick the third item in the list
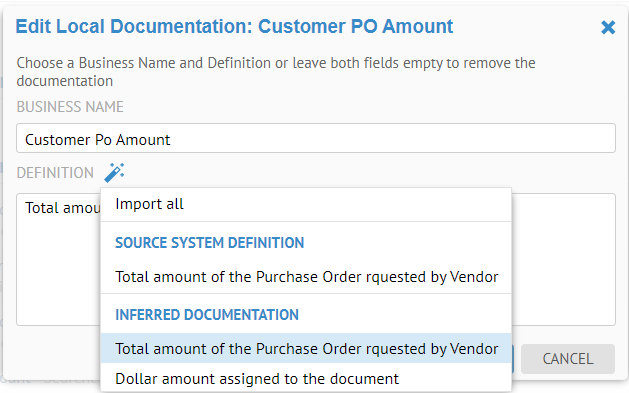
Click OK.
Click CLOSE.
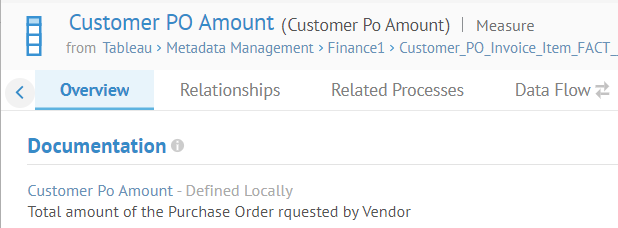
The object is now locally documented, but by re-using business name and definition for other objects (terms in this case).
You may also edit the Business Name and Definition, as well as custom attributes by exporting to CSV format and re-importing.
You may also enter edit the Business Name and Definition, as well as custom attributes, curation, sensitivity labes, relationships and semantic mappings by exporting to CSV or in fact XLSX format. Then you may re-import.
You may export at most any level in a hierarchical model (e.g., a single file or a folder in a file system multi-model), a specific schema or catalog in a database, even a custom model like business rules. You may then import the edited results back into that model or a new one with the same structure.
Permissions required are:
- Export menu options is available when you have the Metadata Viewer capability.
- Import menu options is available when you have the Metadata Editor capability.
Steps
1. Sign in as a user with at least the Metadata Import / Export capability object role assignment on the object.
2. Navigate to the object page for the database model for which you want to document the schemas, tables and columns.
3. Click More Actions and select Export Data Documentation to CSV/Excel.
4. Specify the EXPORT FORMAT and specify CSV.
5. Specify the COLUMN DELIMITER and specify Comma or Semicolon.
6. Specify the EXPORT MODE and specify Compact or Complete.
Specify Complete in most cases as that will provide a complete set of columns, tables, etc., to document. If you specify Compact then you will only see those objects which have any of the attribute values already populated (i.e., for update of existing values only).
7. Specify the RECURSIVE and specify Yes or No. Yes means the export will include this object and all contained objects.
8. Click EXPORT.
9. Open the log of the operation when complete.
10. Click Download Operation Files.
Examples
Export an entire database script model to CSV format
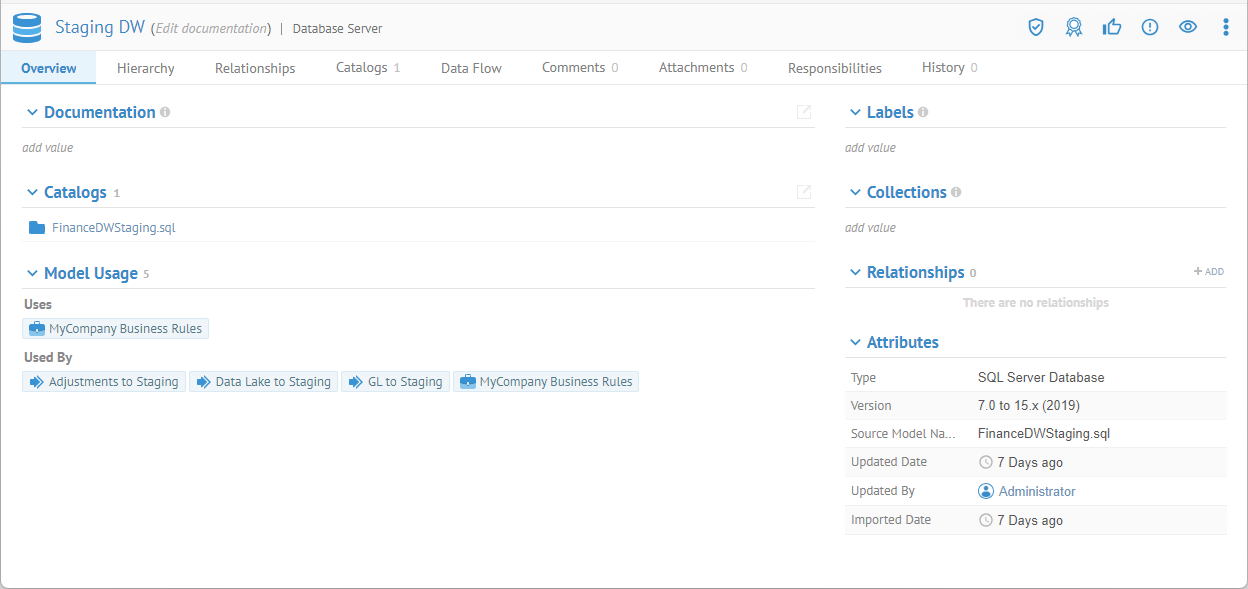
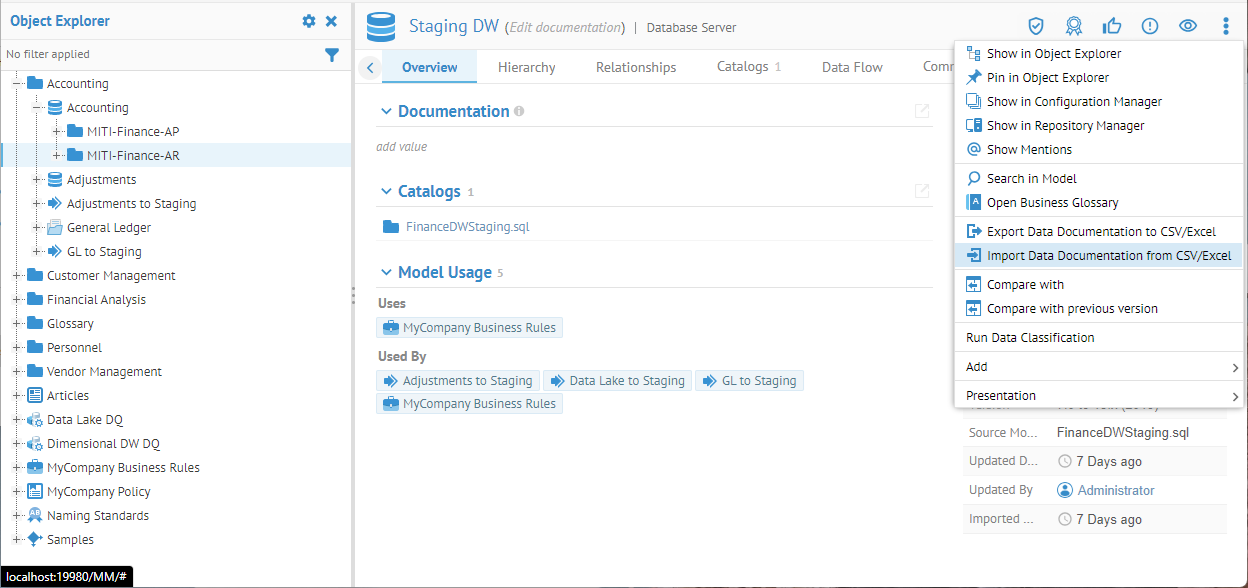
Search for the Staging DW database model and go to its object page. Then click More Actions and select Export Data Documentation to CSV/Excel.
Specify Complete as the EXPORT MODE.
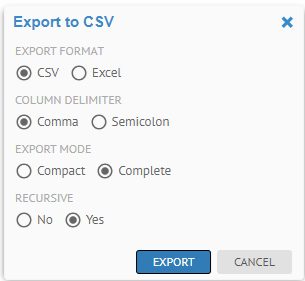
Click EXPORT, then go to the Operations widget.

Open the log of the operation when complete.
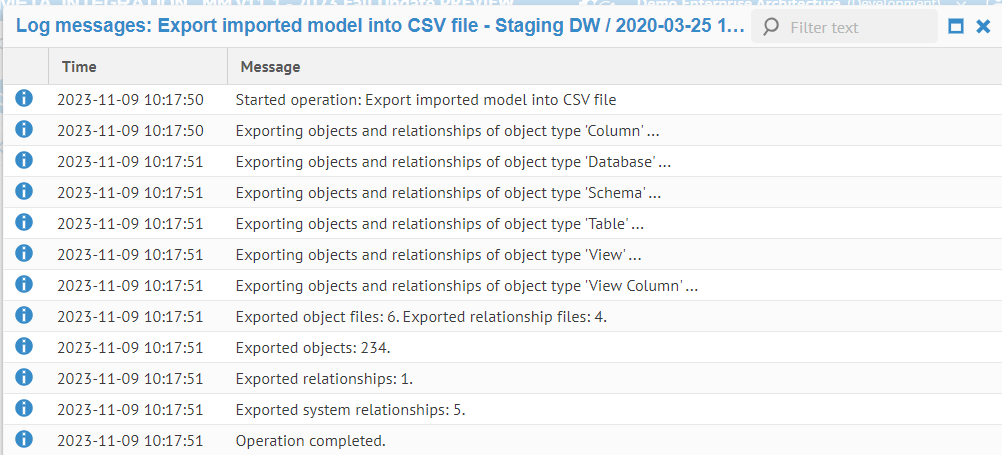
Click Download Operation Files. Expand the compressed (zip) file.
The CSV files downloads as a zip of the files:
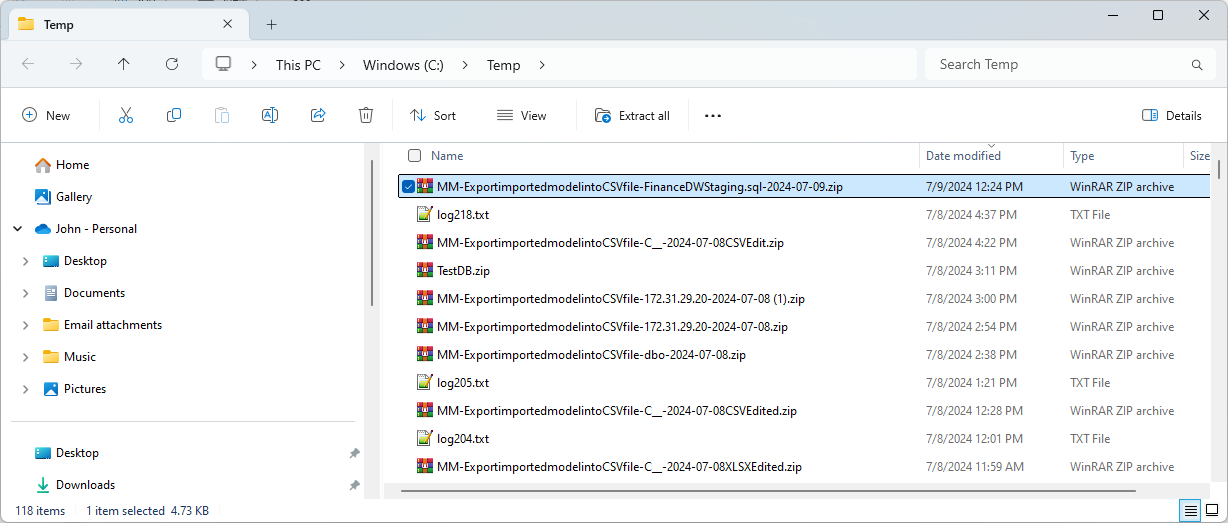
Unzipping them:
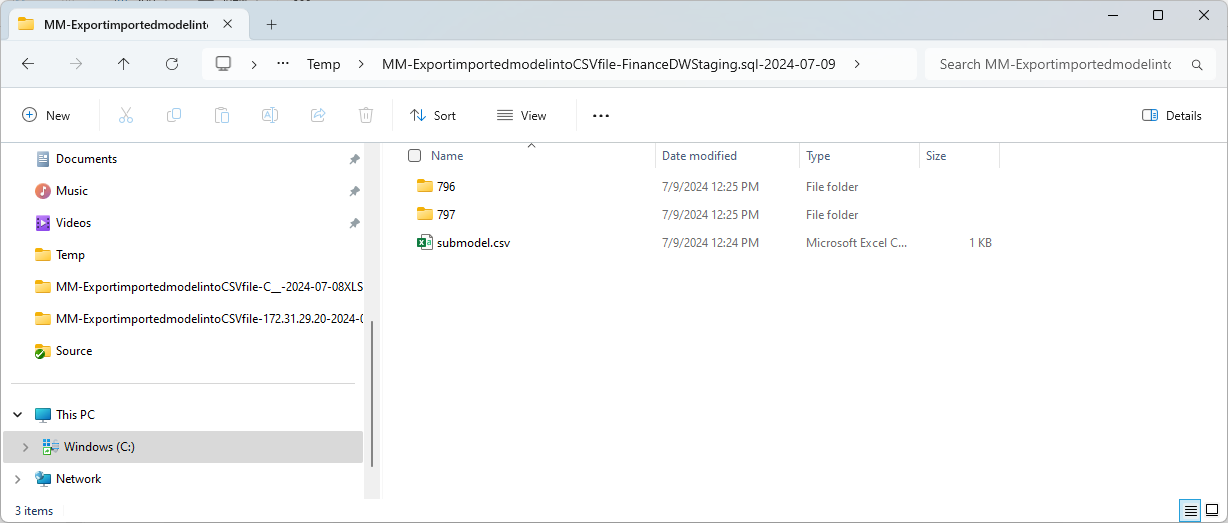
Open any of the resulting submodel.csv file:

This file contains the structure of the resulting files (only two contained folders) It is a single model and thus has csv files to document the model as a whole (on folder) and has a folder with csv files to document the contents (schemas, tables, columns, etc.) of this single model)
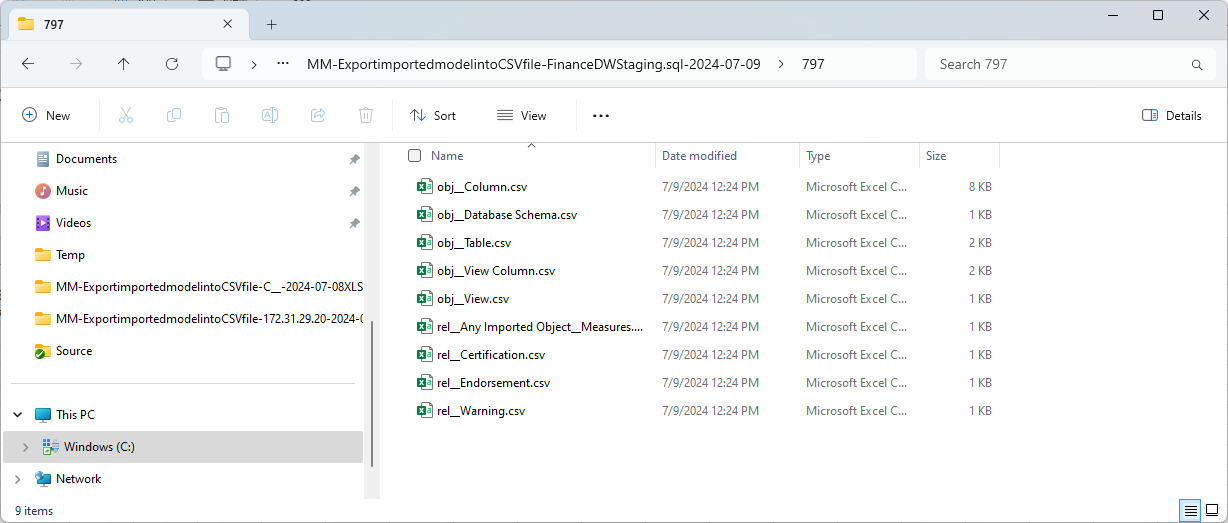
There are numerous files, one each for the type of contained objects in this single model. They are .csv files with the Business Name and Definition, Data Classifications, Sensitivity Labels as well as custom attributes in an editor.
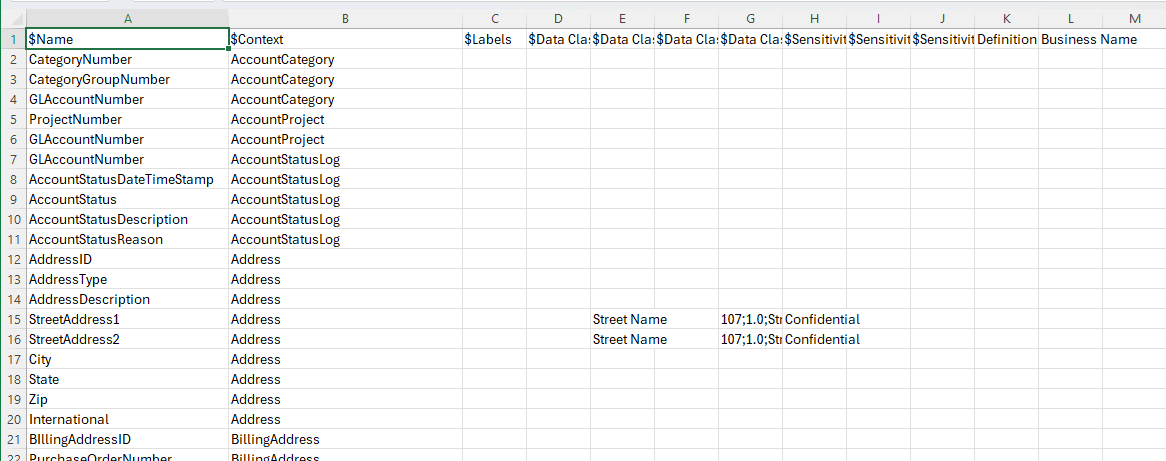
This is the Column sheet. You may also select any of the others and then re-import the changes together.
Export File System Imported Model to a CSV Hierarchy
Search for the Data Lake file system model and go to its object page. Then click More actions > Show in object explorer in order to see the hierarchical structure.
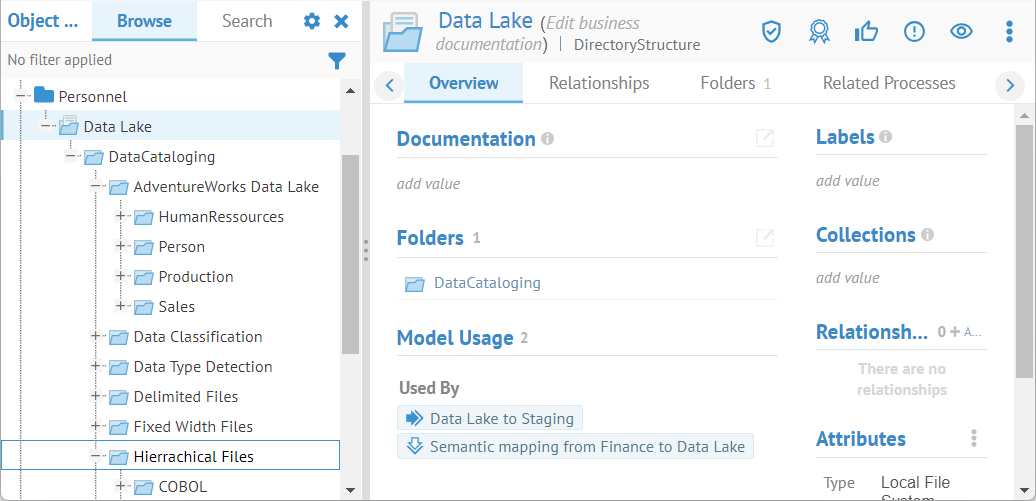
Click various levels in the model and note that at each level if you select More Actions you are able to see the selection Export Data Documentation to CSV/Excel.
You may export to CSV from any level in a Hierarchical multi-model, like a file system model, down to the individual sub model level (an individual file in this case).
At the root of the model select More Actions > Export Data Documentation CSV.

Be sure to specify Complete for EXPORT MODEL and Yes for RECURSIVE to ensure that you have all the semantic links, custom attributes, etc., as well as the entire structure and sub model contents.
Click Download Operation Files and save, then open the zip and take a look.
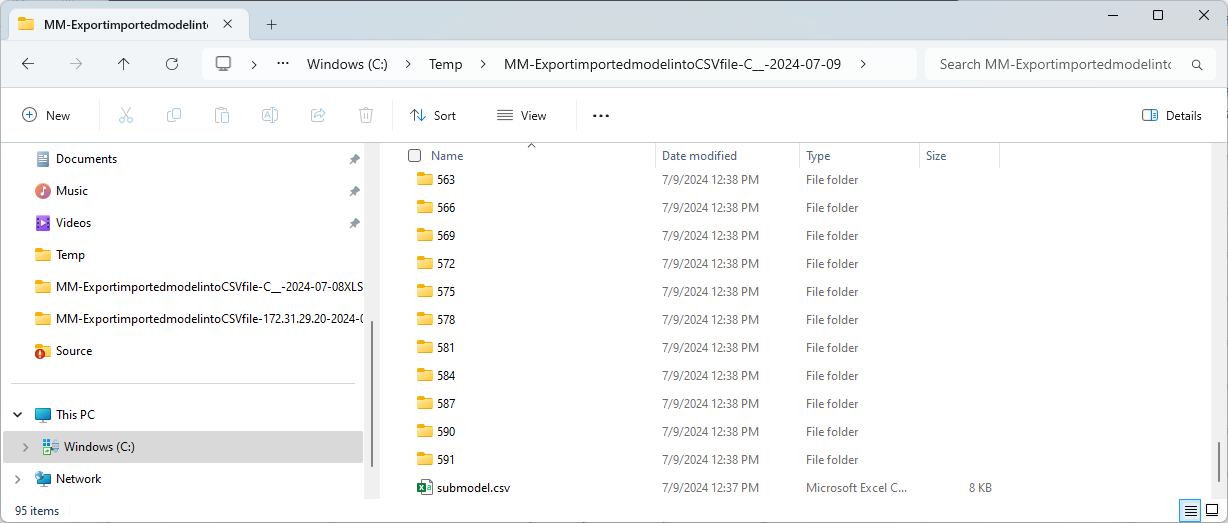
Again, there is a submodel.csv file with the structure:
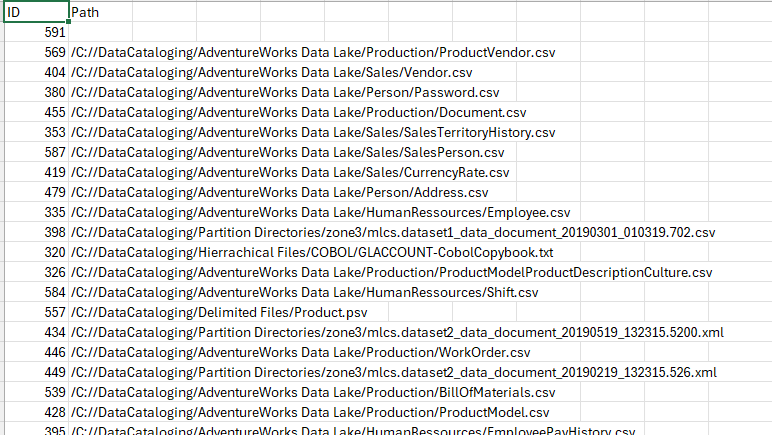
The submodel.csv lists unique IDs for folders in the export and its matching pathname in the original hierarchical Data Lake multi-model
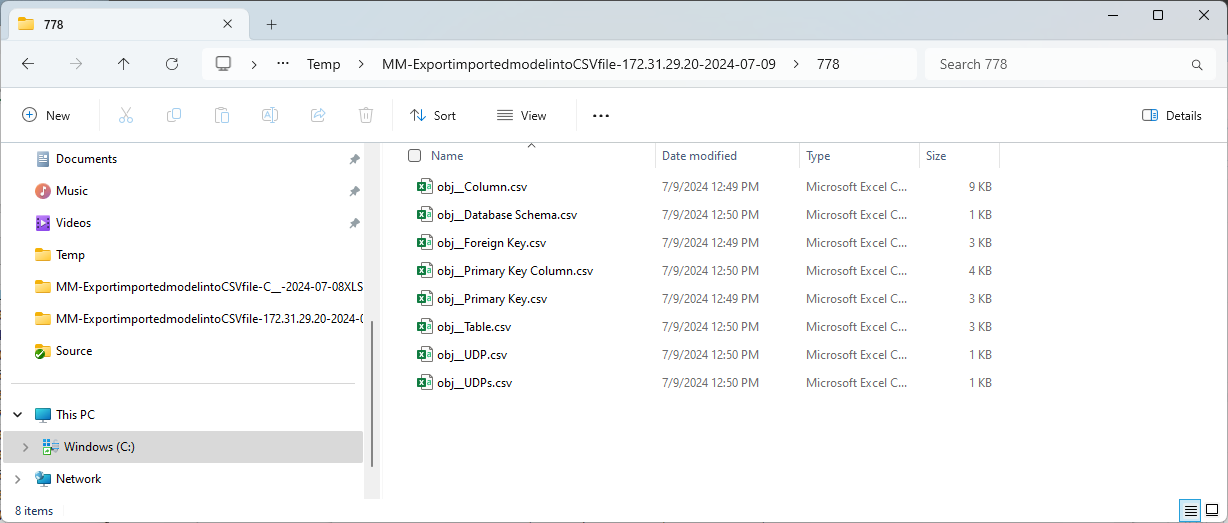
Each folder contains the metadata of the object (file) and the contained fields.
Search for the Accounting file system model and go to its object page. Then click More actions > Show in object explorer in order to see the hierarchical structure.
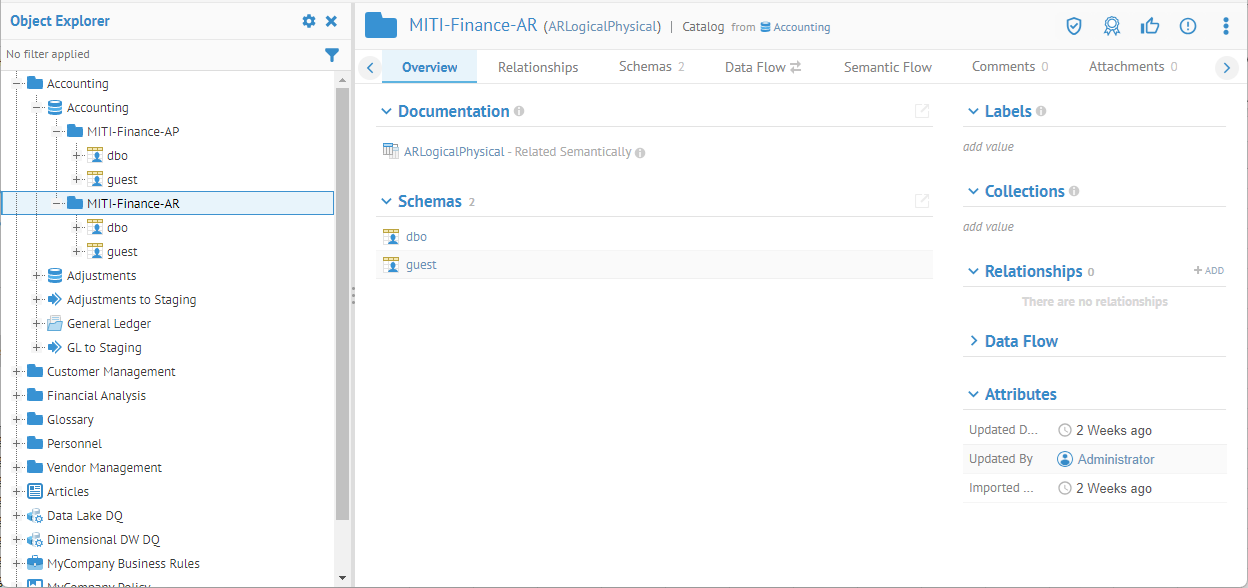
The Accounting model is a multi-model with two catalogs each containing two schemas, imported from Microsoft SQL Server.
Go to More Actions .. > Export Data Documentation to CSV/Excel and specify the same options as in the other examples and click EXPORT. When downloaded, the result is like this:
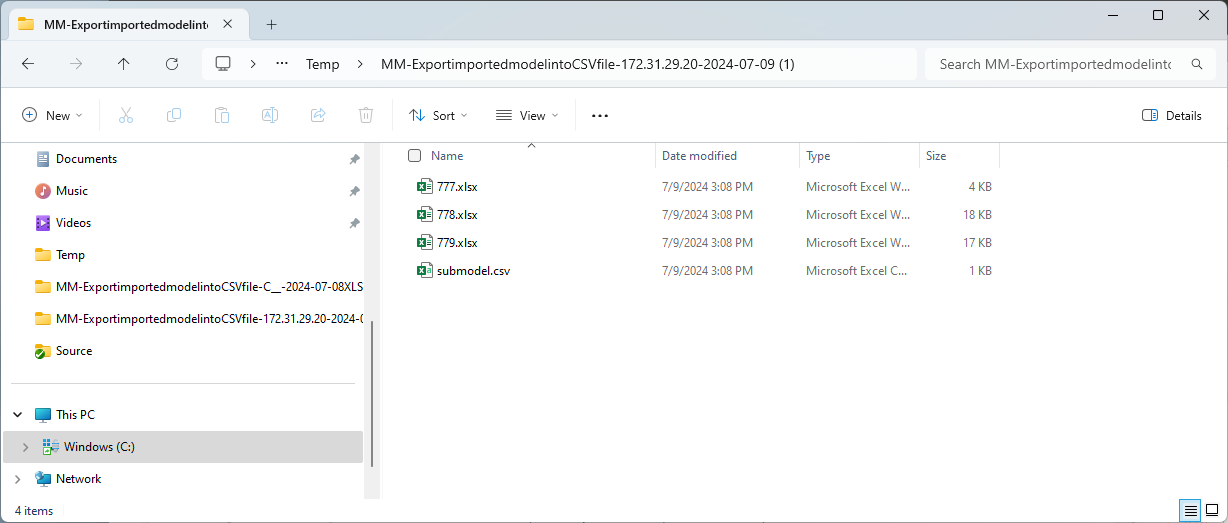
Instead of folders with CSV files, instead we have XLSX files, with separate tabs for each CSV file:
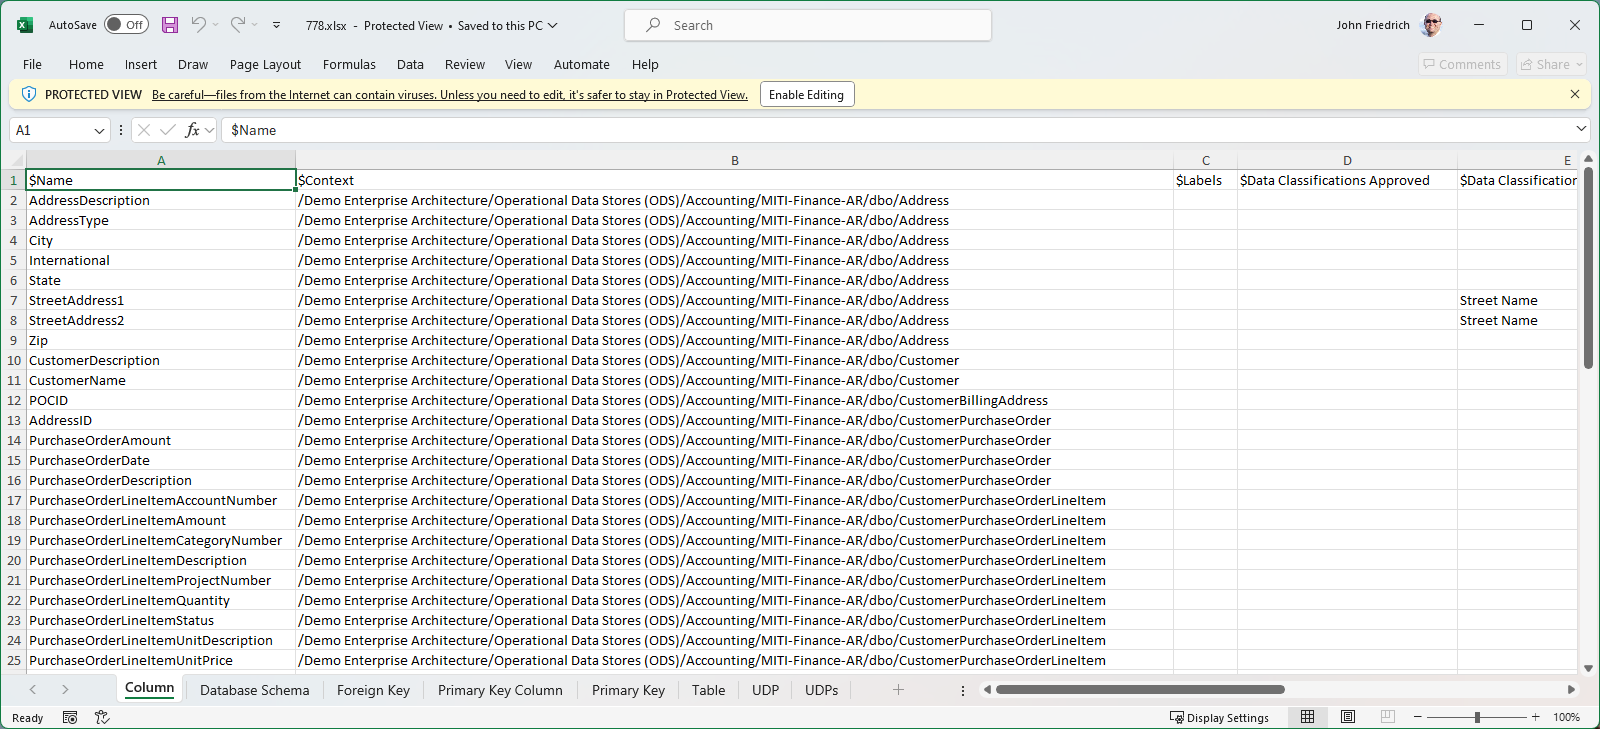
You may export a .csv format file for editing the Name and Business Definition, as well as custom attributes by exporting to CSV format. Here is how you re-import that file.
Permissions required are:
- Export menu options is available when you have the Metadata Import / Export capability.
- Import menu options is available when you have the Metadata Import / Export capability.
This feature is only available for data store (database, file system, etc.) models.
Steps
1. Sign in as a user with at least the Metadata Import / Export capability object role assignment on the object.
2. Navigate to the object page for the database model for which you want to document the schemas, tables and columns.
3. Click More Actions and select Import Data Documentation CSV/Excel.
4. Browse to the file, specify the format and click IMPORT.
The CSV format file will be uploaded from a local file.
If you cannot find the location using the Browse function you must configure (as part of the installation) the available paths to present to users. More details may be found in the deployment guide.
Example
We can use the export from earlier. Search for the Staging DW database model and go to its object page.
Let’s make a change by adding a Definition to the Account Category table by editing the obj_Table.csv file.
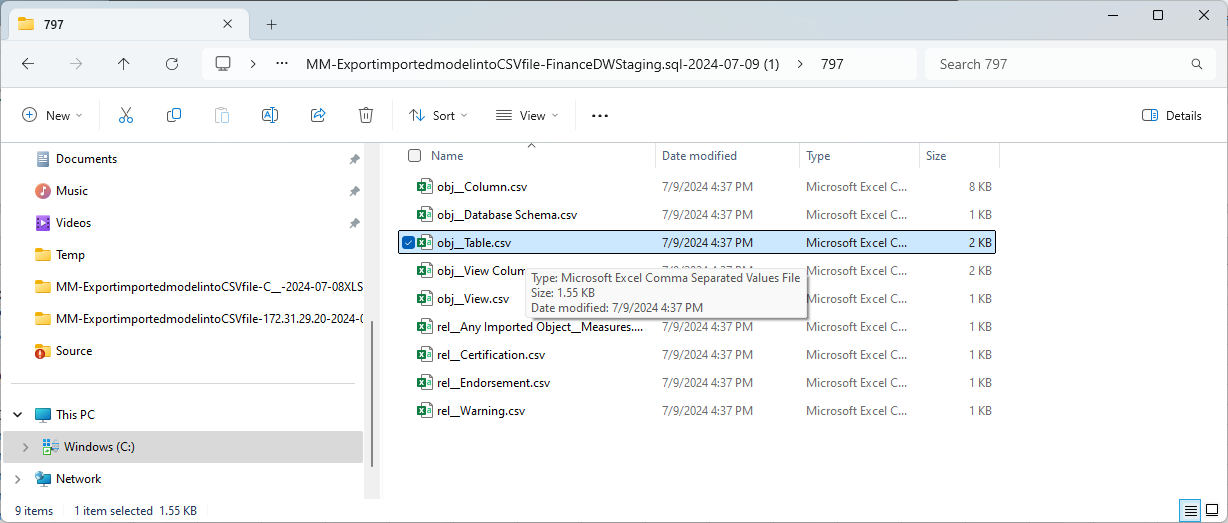
Entering “The Account Category”.
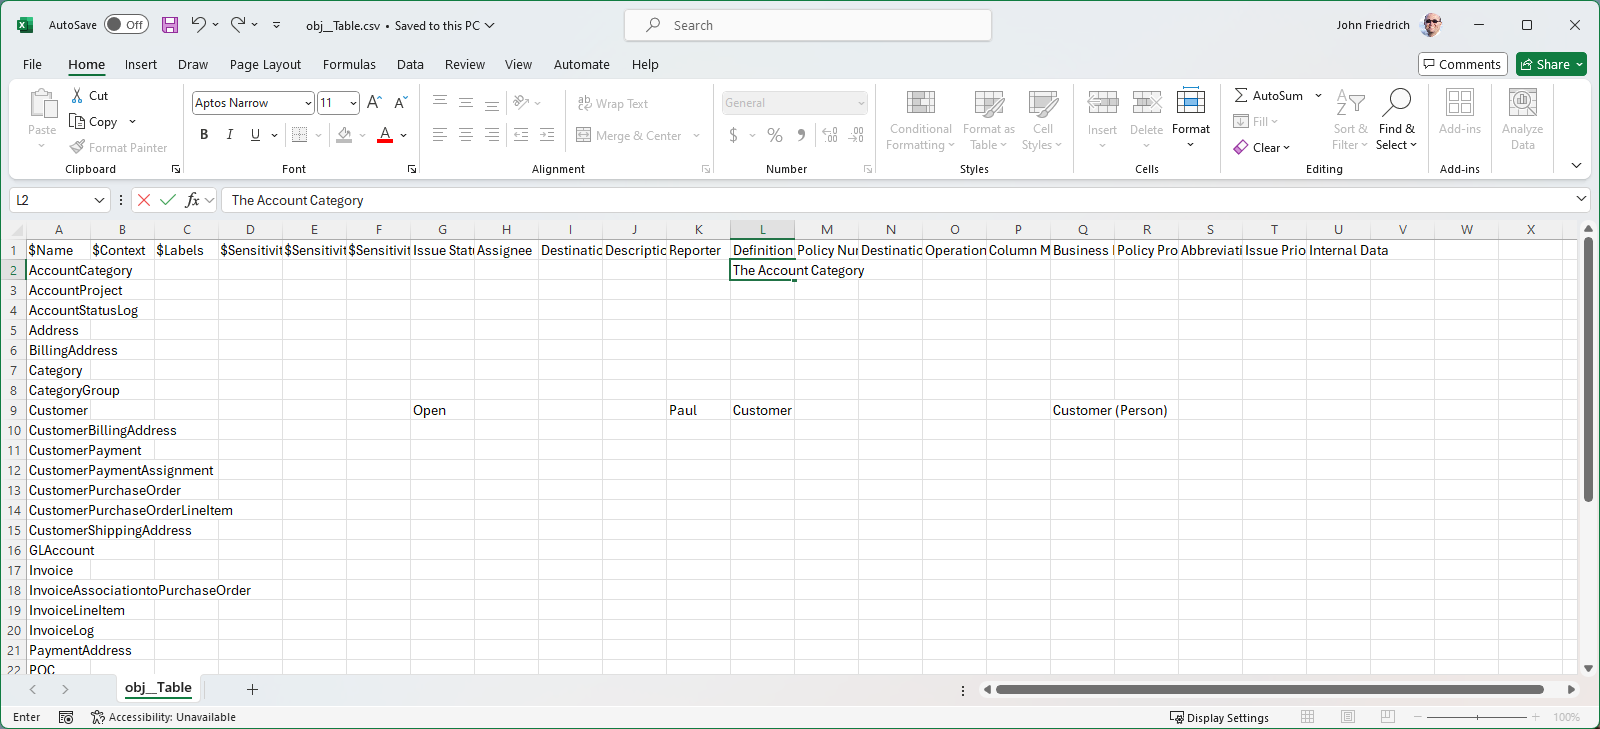
Zip up the result so that it exactly matches the same structure as the original zip file.
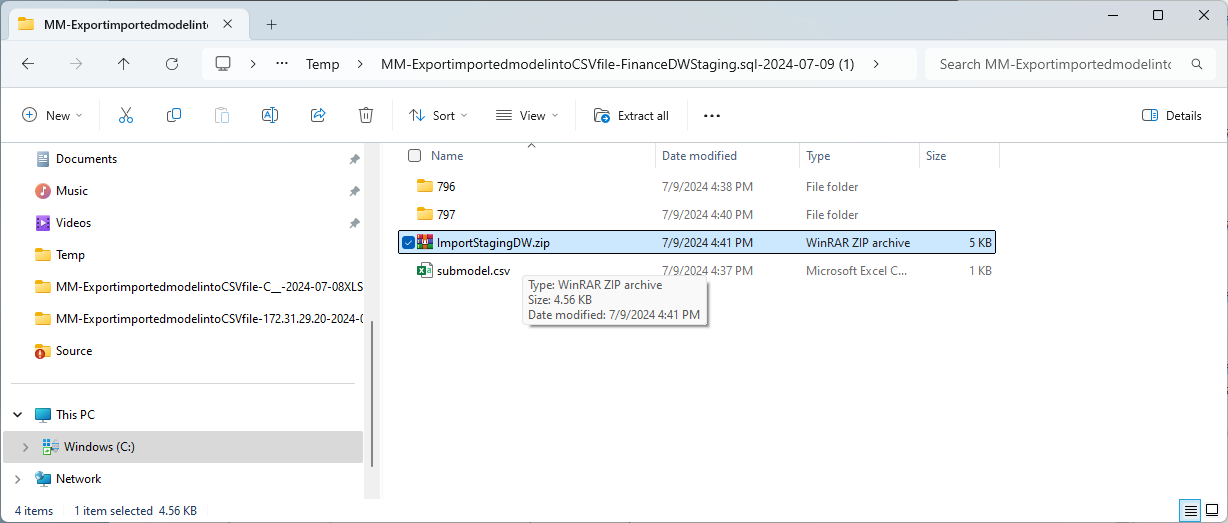
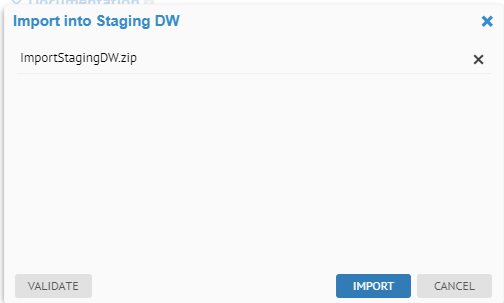
Then click More Actions and select Import Data Documentation CSV.
Browse to the file, specify the format and click IMPORT.
If you cannot find the location using the Browse function you must configure (as part of the installation) the available paths to present to users. More details may be found in the deployment guide.
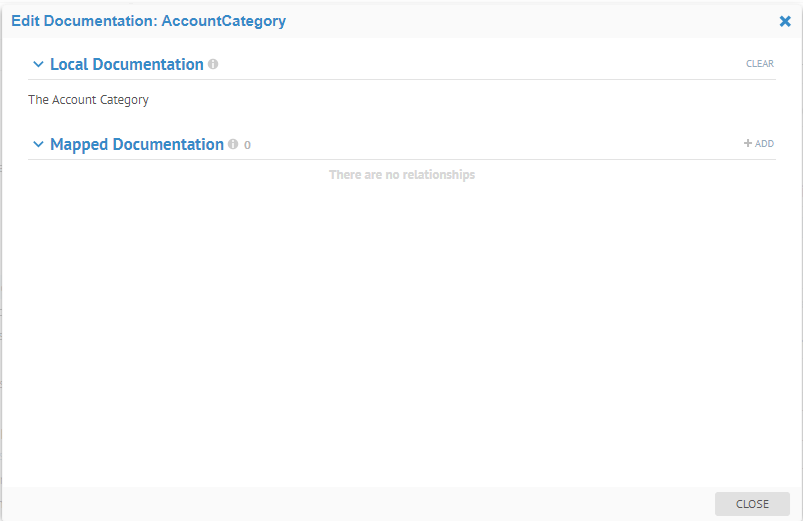
Navigate to the Account Category table in the model and note the Name and Business Definition and other edits are present.
Import a Subset of a Multi-model
In this scenario we can use the export from earlier from the multi-model file system model exported to CSV However, in this case we will only update two of the models and remove the rest of the CSV files. In fact, this method could be use to generate files from other tools to import.
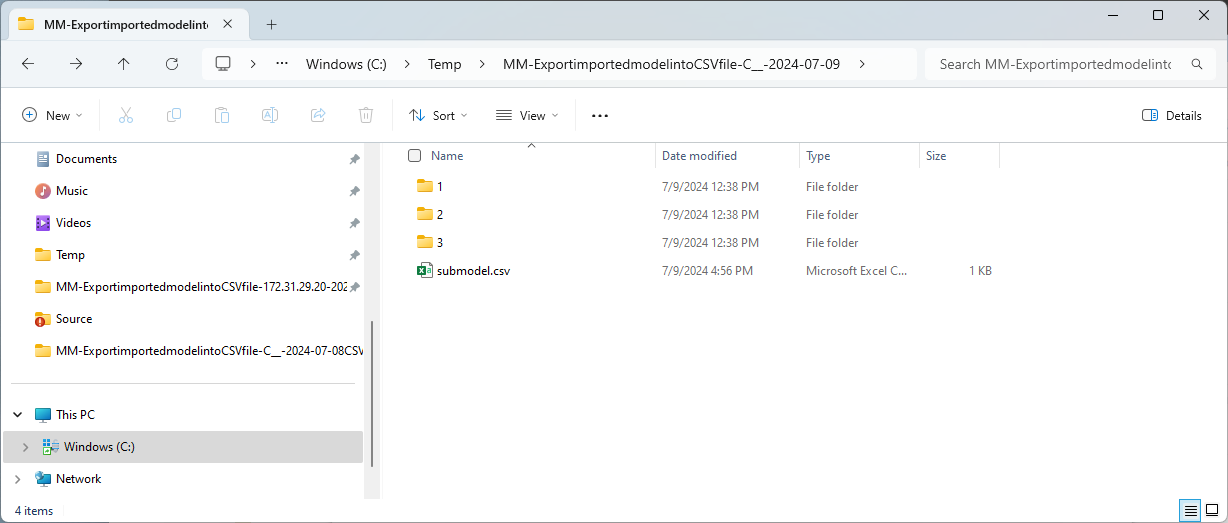
Go to the files that were exported earlier, and edit the submodel.csv file to remove all but two folders of the source files, and also leave the folder with the documentation for the multi-model itself.
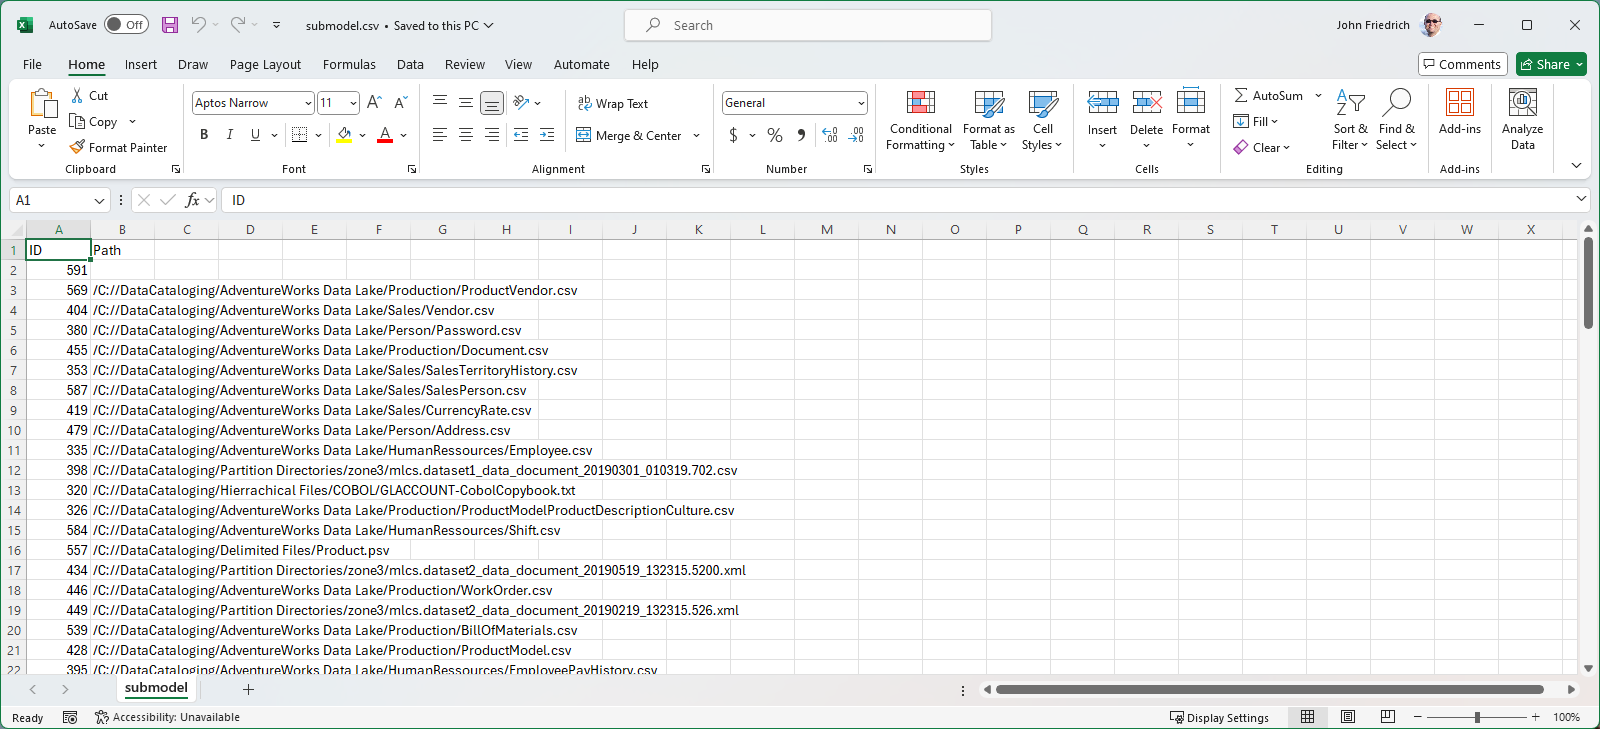
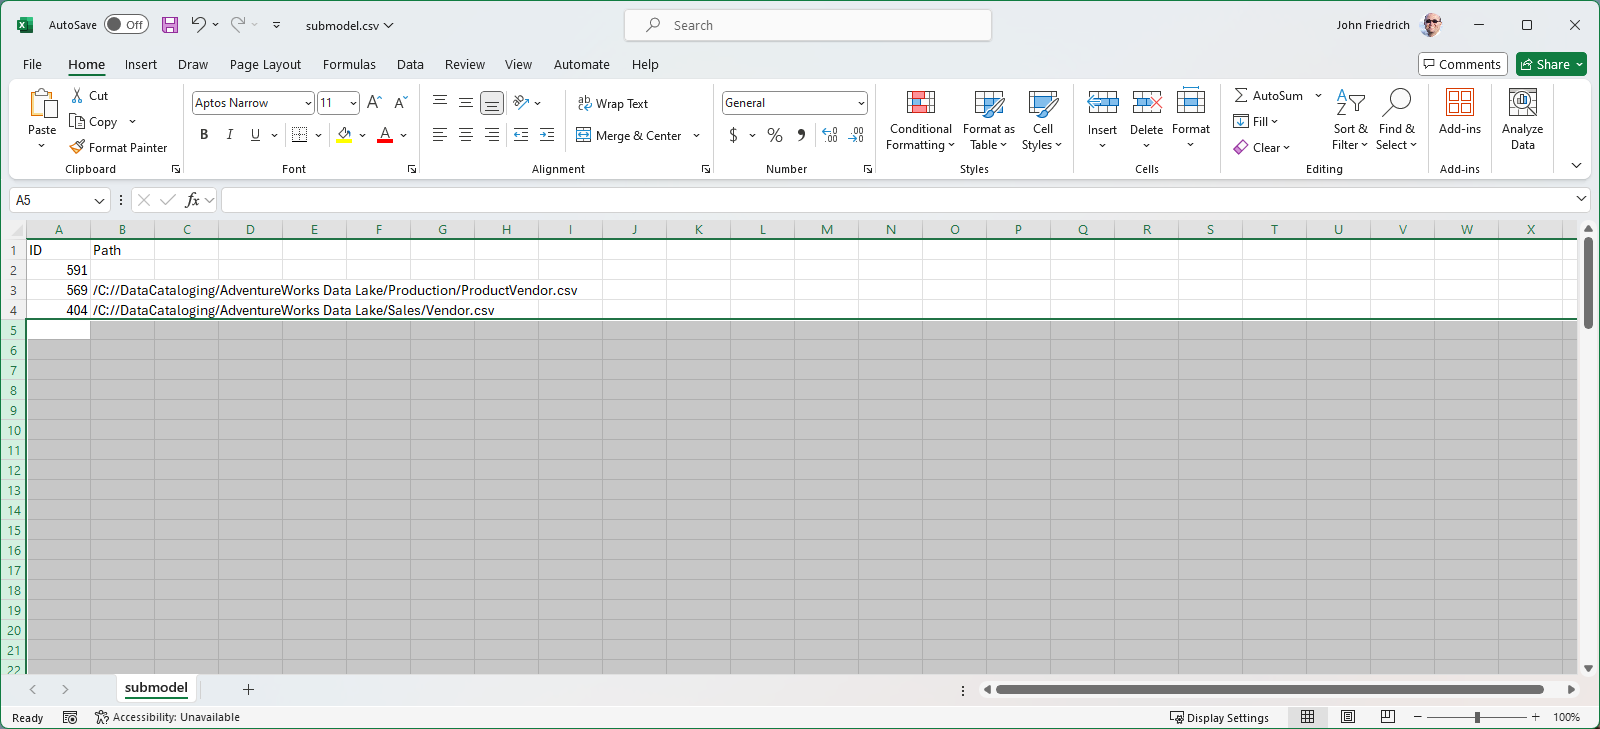
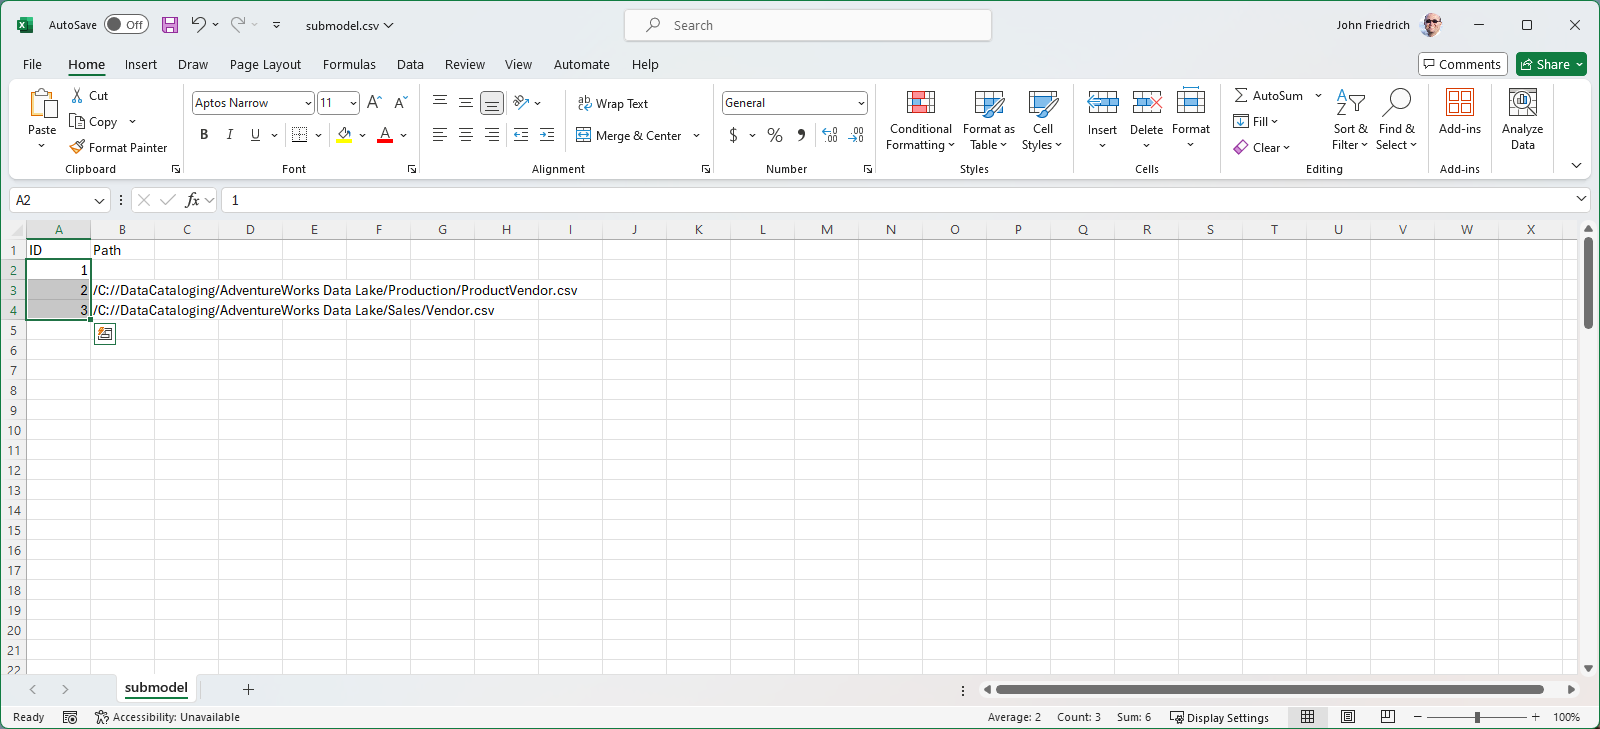
I can even change the numbers identifying the folders, that way there is no dependency on internal numbers in the repository.
Now remove the unnecessary folders.
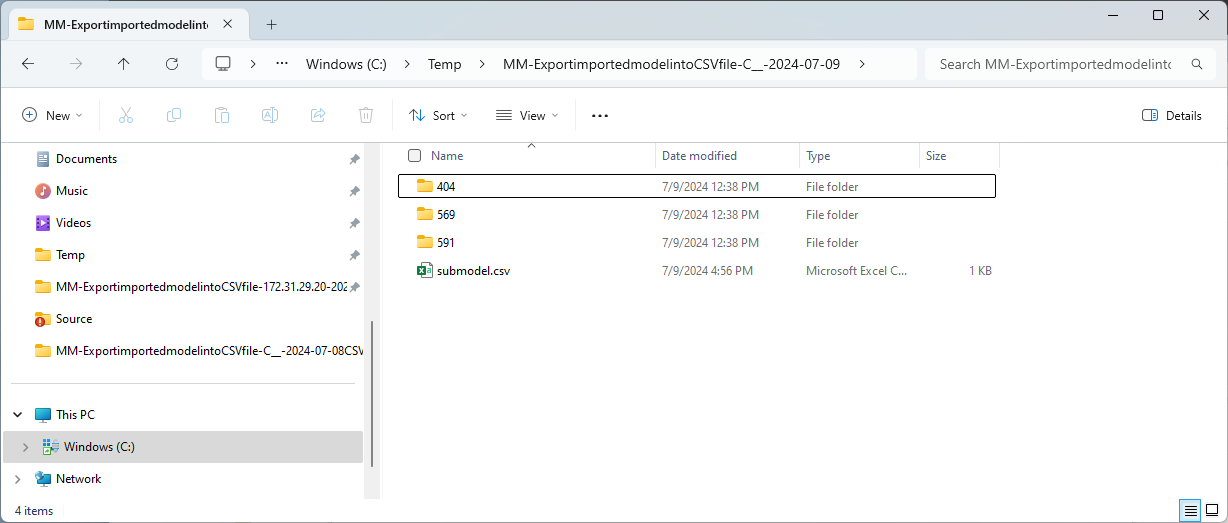
Rename them as in the submodel.csv file.
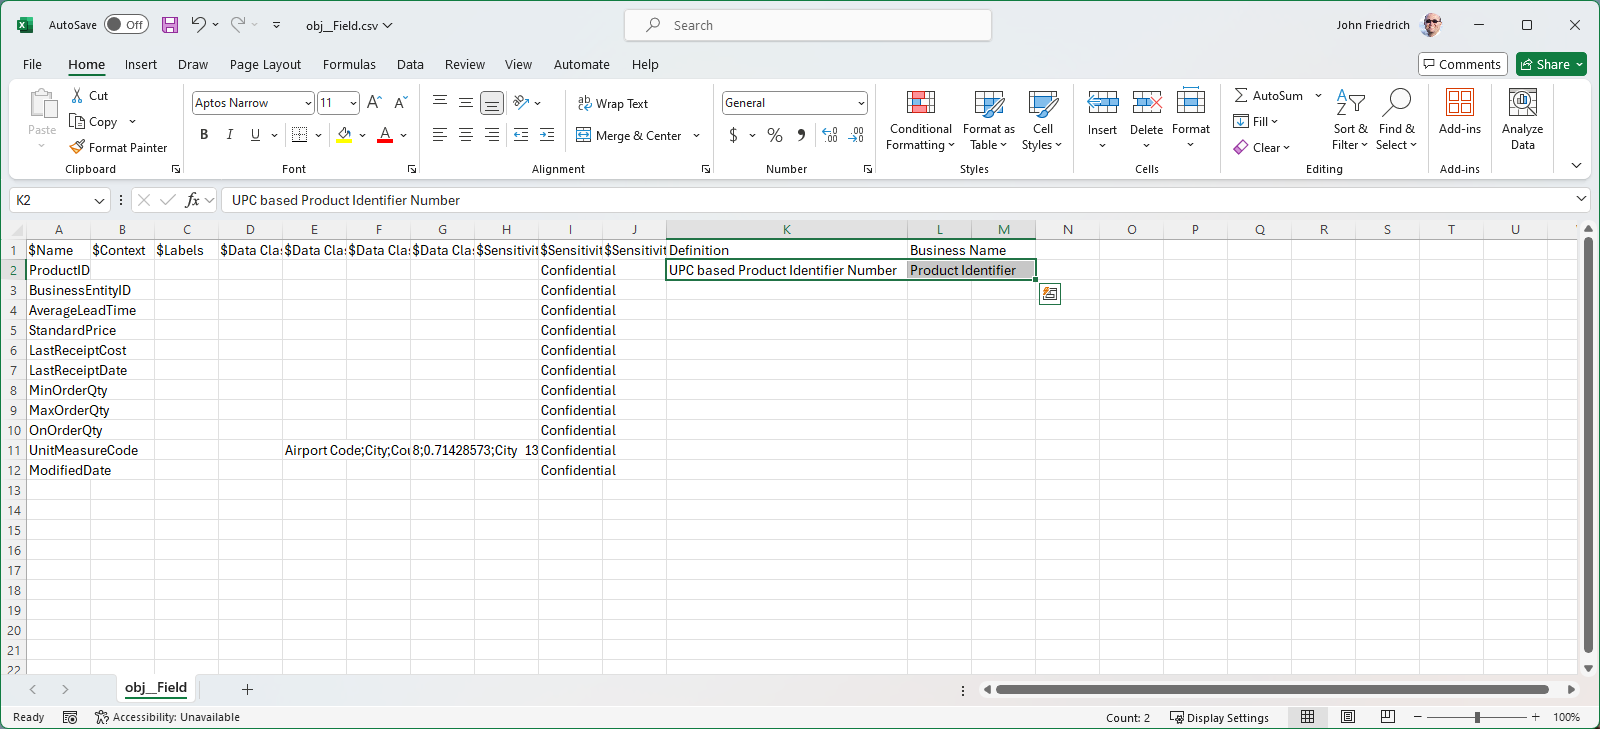
We then update a Definition and Business Name.
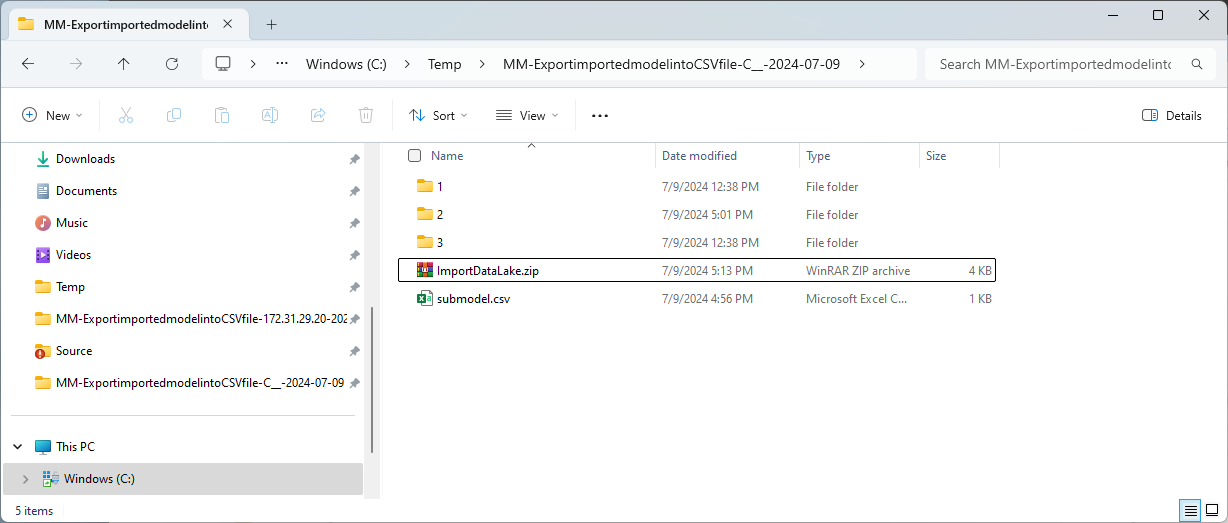
Now, zip it up to the same structure as it was exported.
Search for the Data Lake database model and go to its object page.
Then click More Actions and select Import Data Documentation CSV.
Chose the zip file.
Click IMPORT
Now, go to the updated field and the new documentation is there.
