Data classification assignments may be assigned manually or automatically proposed to an object and appear in the object’s Data Classifications. If automatically proposed, then one may approve or reject the assignment.
Approving the assignment changes the state of that data class assignment to approved, and you may filter by that information in worksheets.
Rejecting the assignment changes will cause the product to remember this action and future automatic data classification of that object will never assign that same data class to that object, as it was rejected.
To clear this reject, simply manually re-assign the data class to the object’s Data Classifications.
One may simply remove a data class proposal by editing the object’s Data Classifications and removing the data class, rather than rejecting it. In this case, the product does not remember this action and future automatic data classification of that object will assign that same data class to that object, as it was not rejected.
Steps
1. Sign in as a user with at least Metadata Editing capability object role assignment for that model you wish to classify.
2. Navigate to the object page of the object with the proposed data class.
3. Or, edit like in a spreadsheet via a worksheet.
When editing data classifications in spreadsheet format, you must include the Data Classifications column in order to edit it.
You may also wish to add the Data Classifications Approved, Data Classifications Matched and Data Classifications Rejected columns (These replace the older concept of Semantic Type and Inferred Semantic Type).
4. Or, edit in bulk via a worksheet.
To approve a proposed data class, click the check mark next to the data class.


To approve a proposed data class, click the “X” next to the data class.
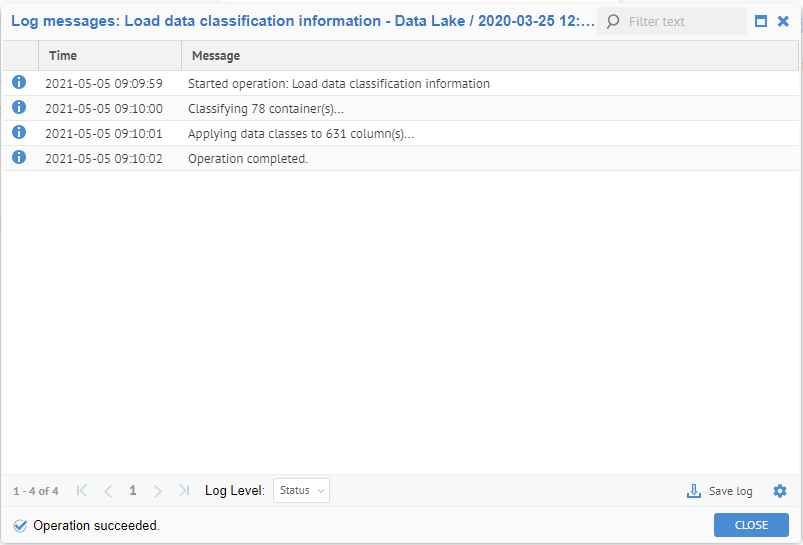
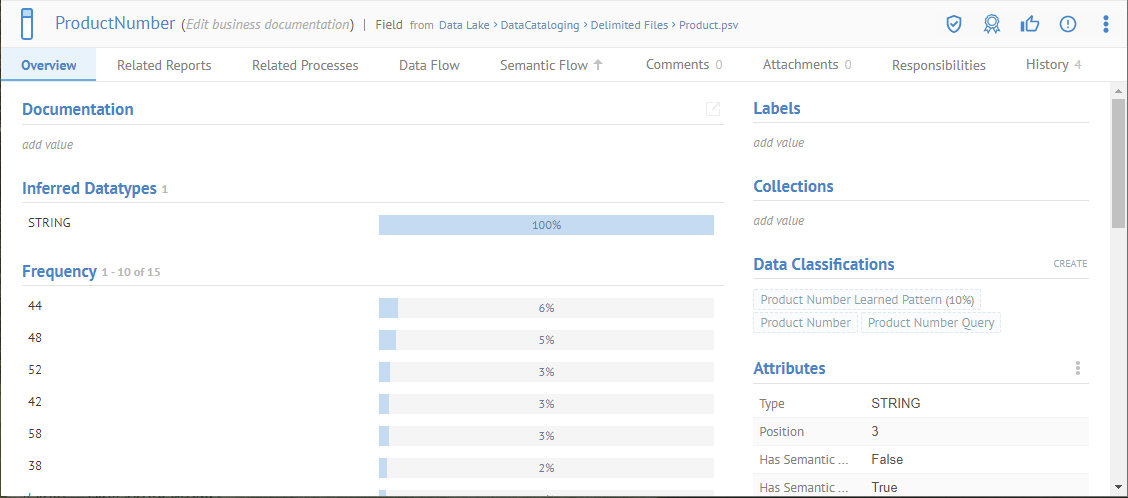
To remove (without rejecting) a proposed data class, DO NOT click the “X” next to the data class, but instead double-click on the data classification editing box, then click again in the box and a pull down is presented where you can add or remove data classes.
