This feature allows you define sensitivity labels as an ordered flat list such as: Unclassified > Confidential > Secret > Top Secret. Each sensitivity label has a description, a hide data property (only used when applied to a column/field), and a color (for example confidential can be orange and top secret red).
Sensitivity labels can be manually applied by authorized users (with the Data Classification Editing capability object role assignment) to any individual object.
there is no inheritance such that setting a schema secret does not make each of its tables and respective columns secret.
However, there are inferred sensitivity labels so that when you apply a sensitivity label to an imported object, e.g. a column, then all the imported objects “downstream” in the data flow lineage will be given at least that level of sensitivity.
Sensitivity labels can also be updated in bulk (e.g. multiple columns at the same time).
Sensitivity labels can be automatically set through automatic data classification detection. For example, a data class SSN can be associated to a sensitivity label called Confidential or GDPR. In such case, any table columns or file fields detected as SSN will also automatically be set with that Confidential or GDPR sensitivity label.
The approval process of data classes also applies to sensitivity labels. In addition, approving a data class detection on a given object also approves its associated sensitivity label.
A sensitivity label may also be assigned to all new imported objects (data elements) on import (harvesting) a model. In addition, on subsequent imports, new data elements will be given the defined sensitivity label, but existing ones will not be changed. This way, one may assign a sensitivity label and even hide the data automatically for every data element in a model on the first harvest and approve or change that assignment, while on subsequent harvests only newly imported data elements will be assigned the automatic sensitivity label.
Sensitivity labels are highly visible in the UI, and can be used in worksheets (queried through Metadata Query Language (MQL) in the UI or the REST API). Applications can be built to query these sensitivity labels in order to automatically generate / enforce data security on the data stores (e.g. databases or file systems with Rangers). Note that sensitivity labels do not directly set or bypass the role based security of the repository, or automatically hide data from the repository (these actions can be set separately).
The sensitivity label feature allows you apply a sensitivity label to any imported object. Sensitivity applies to the data sampling and profiling information, not the metadata. Each sensitivity label has a description, a hide data property (only used when applied to a column/field), and a color (for example confidential can be orange and top secret red). For columns/fields it may allow you to ensure that data sampling and profiling are hidden if a sufficient level (as defined) of sensitivity is defined for the sensitivity label assigned.
Sensitivity labels can be manually applied by authorized users (with the Data Classification Editing capability object role assignment) to any individual object from an entire model, a report, a schema, table, all the way down to a column.
There is no inheritance such that setting a schema as Confidential (and thus hidden) does not make each of its tables and respective columns secret. Sensitivity labels can also be set in bulk (e.g. multiple columns at the same time).
There are however, inferred sensitivity labels so that when you apply a sensitivity label to an imported object, e.g. a column, then all the imported objects “downstream” in the data flow lineage will be given at least that level of sensitivity as "Sensitivity Label Lineage Proposed". This means you will see automatic sensitive label tagging by inference across the enterprise architecture. As with "Sensitivity Label Data Proposed", the "Sensitivity Label Lineage Proposed" can be rejected, therefore stopping the propagation of inferred sensitivity labels in that data flow direction. Note that the propagation of inferred sensitivity level is also not inferred by any data masking discovered within the ETL/DI/Scrip imports involved in that data flow.
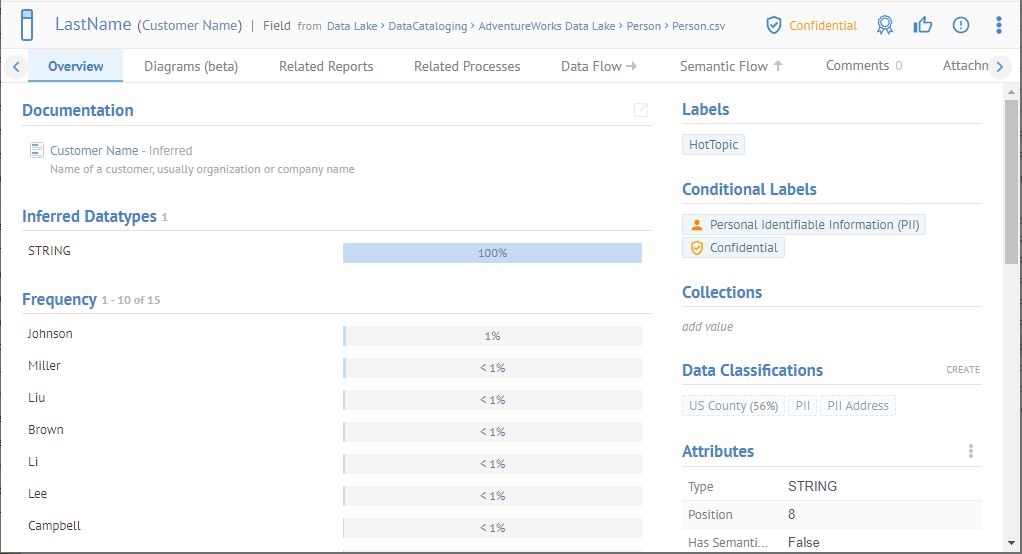
Navigate to the LastName field in the Person.csv file.

If there is no current sensitivity label assigned, then an Add Sensitivity Label icon is displayed.
Select Confidential as the Sensitivity Label.

Click Person.csv in the breadcrumb area to the right of the name of the field:
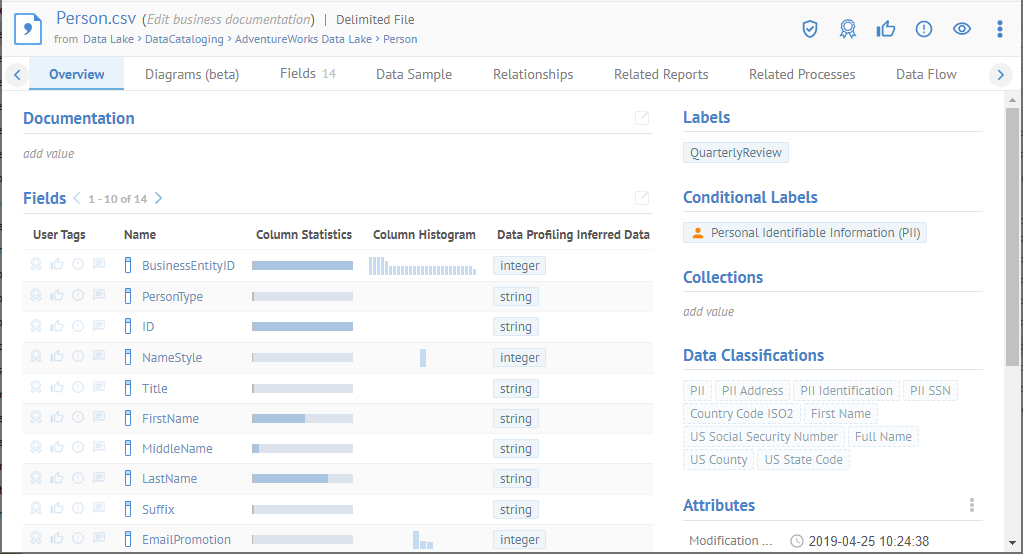
This is the file containing the LastName field.
Then click the Data Sample tab.
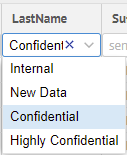
Here you may assign the sensitivity label in a grid. You may do so in bulk in a worksheet with the Sensitivity Label columns.
Sign in as Dan (the Data Analyst) and go to the Currency Code field in the CountryRegionCurrency.csv file again.
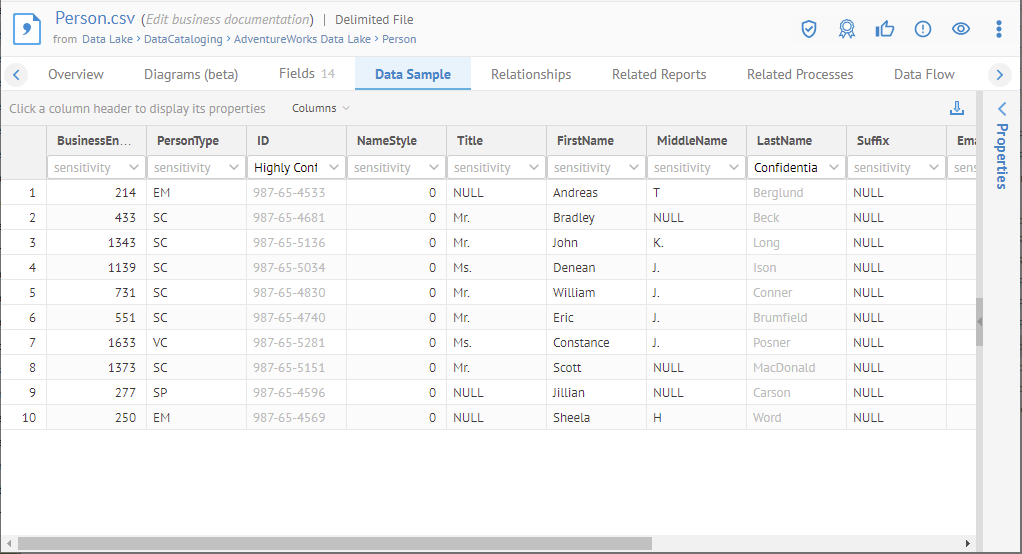
Dan cannot see data profiling and sampling information for fields which are labeled as Confidential as this sensitivity label includes data hiding.
Obviously, you may review the sensitivity label on a given object by going to the object page for the given object.
Navigate to the LastName field in the Person.csv file.
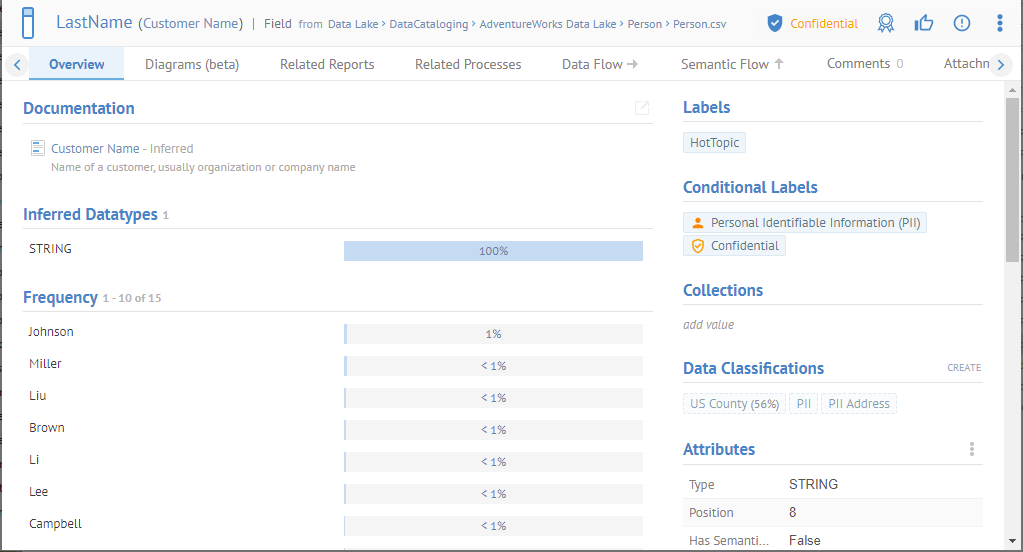
The
sensitivity label icon is filled in  , thus this sensitivity label (Confidential) has been manually assigned and/or
approved.
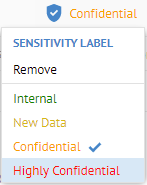
Select as the Sensitivity Label and you have the option to Remove it or assign another label.
You may also review the sensitivity labels in bulk.
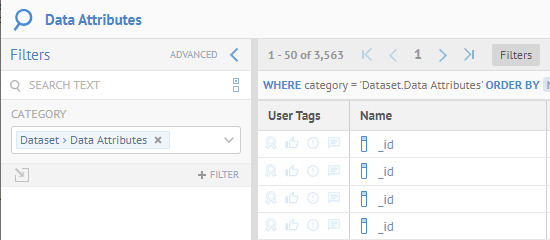
Create a worksheet for all Dataset > Data Attributes.
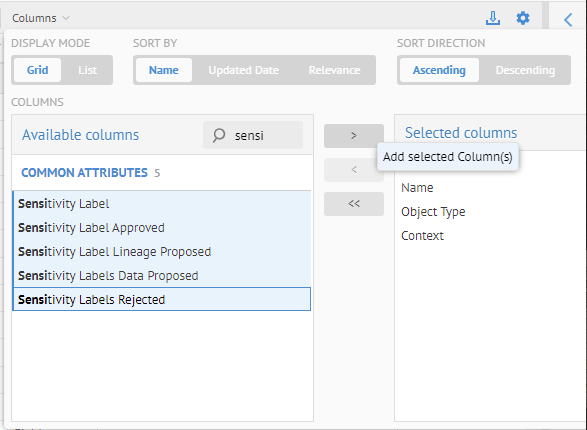
Add the following sensitivity label columns:
o Sensitivity Label
o Sensitivity Label Approved
o Sensitivity Label Lineage Proposed
o Sensitivity Label Data Proposed
o Sensitivity Label Rejected
Then filter by Sensitivity Label with the criteria Exists.

LastName is in the Approved column because it was assigned manually.
We saw earlier how to update that assignement.
CustomerName is in the Lineage Proposed column because it was inferred via lineage analysis.
Go to the object page for CustomerName by clicking on it.
The
sensitivity label icon is NOT filled in  , thus this sensitivity label (Confidential) has NOT been manually assigned and/or
approved.
The UI also informs us that this particular assignment was made due to lineage analysis as the object downstream from this one was assigned manually.
We may simply approve this one here by simply clicking on the previous selection.

And now it is approved.

Going back to the worksheet.
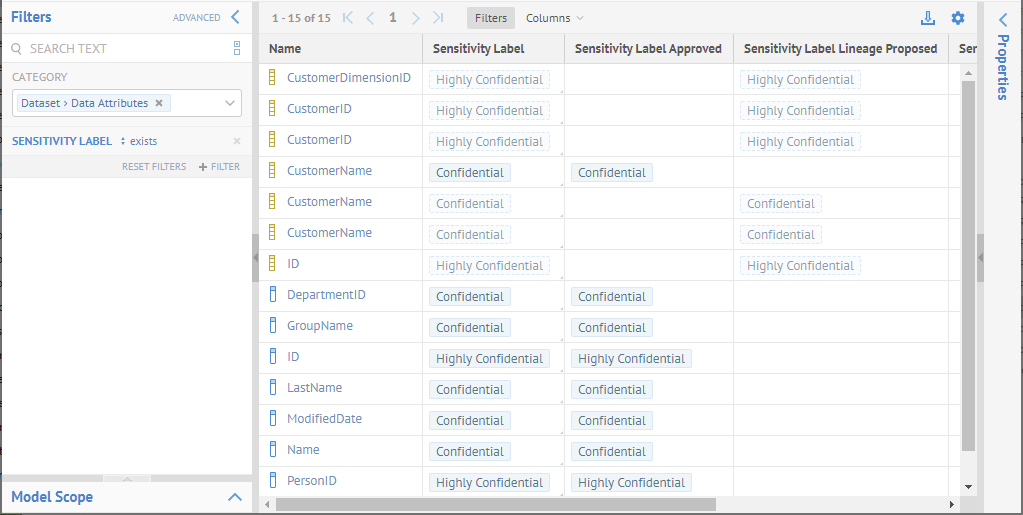
We see that the Sensitivity Label of CustomerName is now in the Approved column also.
ID is in the Data Proposed column because it was determined directly from data classification.
If we are a reviewer and we know that ID is not sensitive in this case, we can simply Reject that assignment.
We can even do so right in the worksheet.
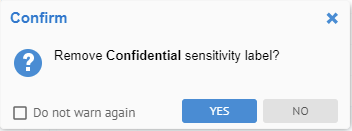
Sensitivity labels can automatically be set as Sensitivity Label Data Proposed through the automatic data classification detection process (see data classification).
For example, a data class SSN can be associated to a sensitivity label Confidential or GDPR. In such case, any table columns or file fields detected as SSN will also automatically be set with that Confidential or GDPR sensitivity label. These may later be reviewed and approved.
The approval process of data classes also applies to sensitivity labels. In addition to approving a data class detection on a given object also approves its associated sensitivity label. See help.
When you assign a sensitivity label to an imported object, there are inferred sensitivity labels so that when you apply a sensitivity label to an imported object, e.g. a column, then all the imported objects “downstream” in the data flow lineage will be given at least that level of sensitivity as "Sensitivity Label Lineage Proposed". This means you will see automatic sensitive label tagging by inference across the enterprise architecture. As with "Sensitivity Label Data Proposed", the "Sensitivity Label Lineage Proposed" can be rejected, therefore stopping the propagation of inferred sensitivity labels in that data flow direction. Note that the propagation of inferred sensitivity level is also not inferred by any data masking discovered within the ETL/DI/Scrip imports involved in that data flow.
Navigate to the LastName field in the Person.csv file.
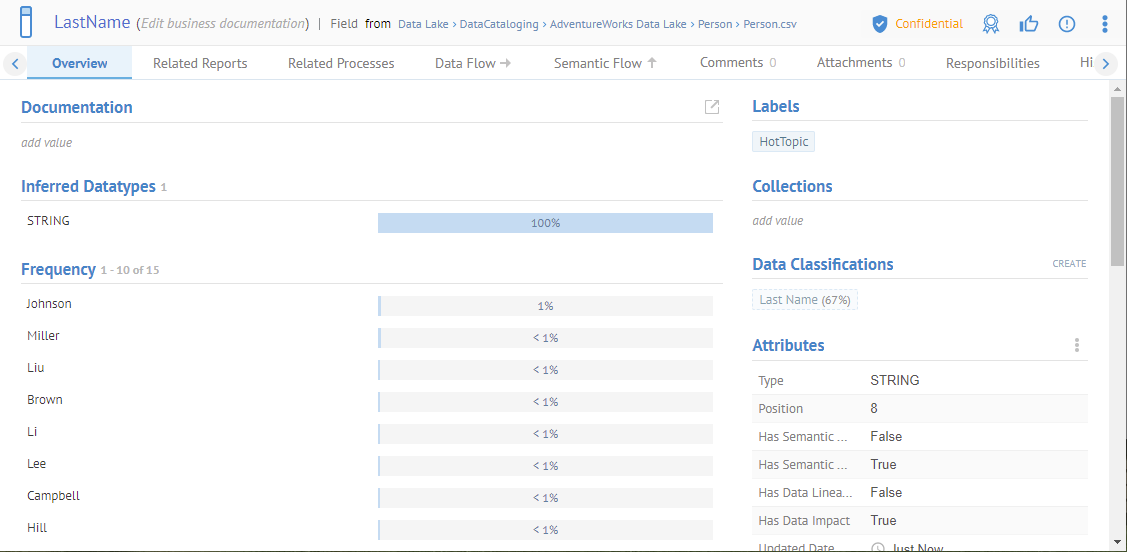
Go to the Data Flow tab and expand to the column level.
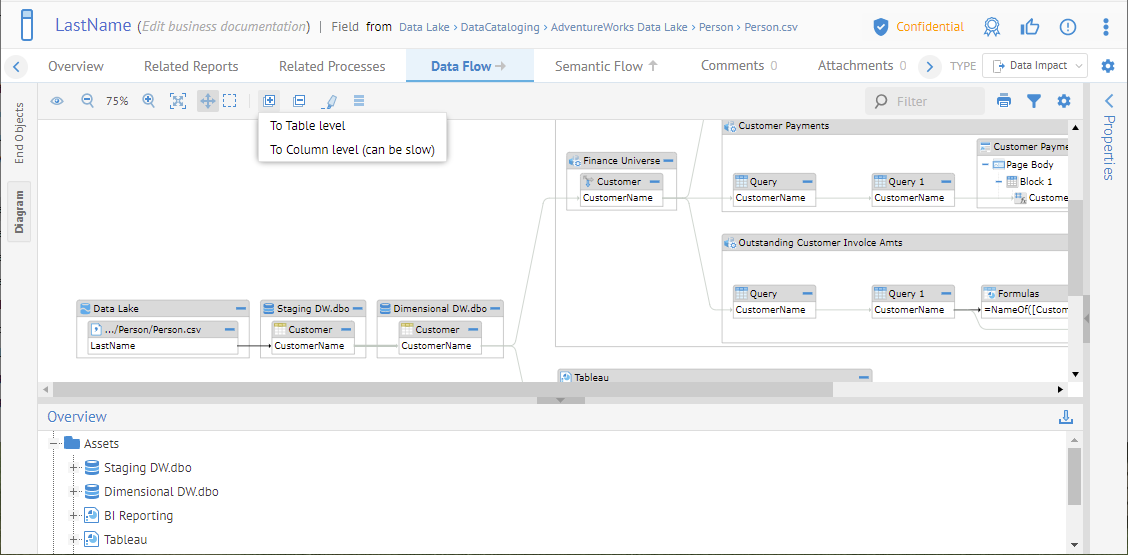
Double click the first column in the data flow after LastName, which is Customer.CustomerName.
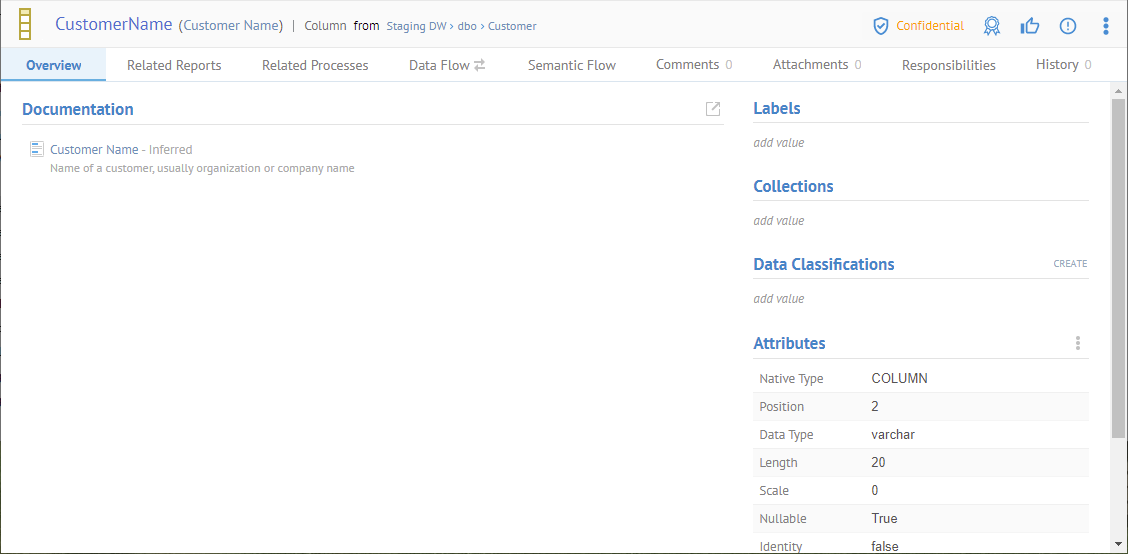
The column downstream has inferred the Confidential label.
Go to the very last field in a report in the data flow impact report, which is CustomerName in Block 1 of the Page Body of the Outstanding Customer Invoices worksheet.
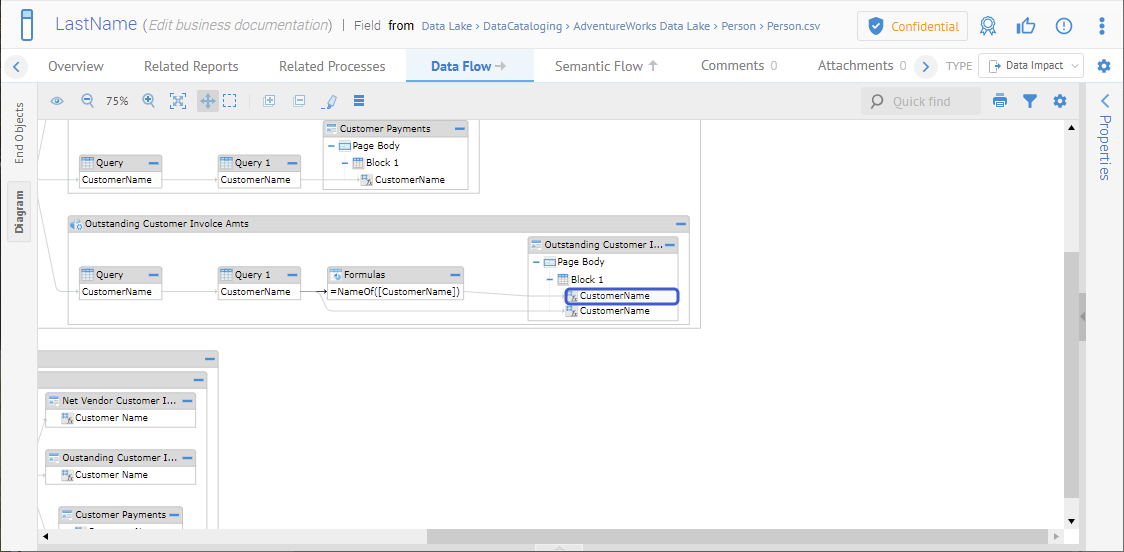
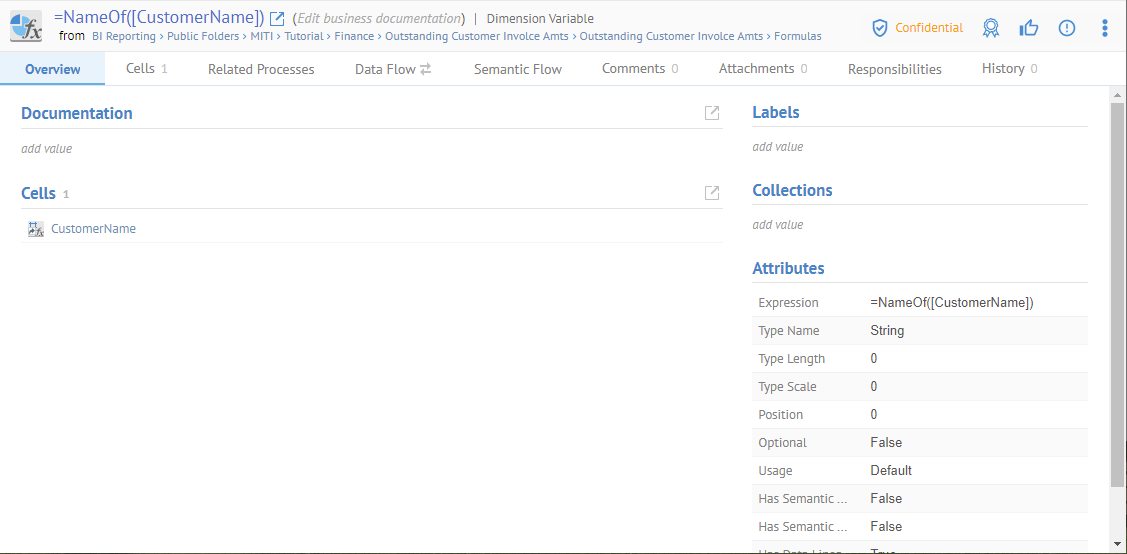
It is also Confidential.